Properly installing rock wool pipe insulation is key to maximizing energy efficiency, reducing noise transmission, and protecting pipes from temperature extremes. Whether you’re working on HVAC systems, plumbing, or industrial piping, following the right steps ensures long-lasting performance.
Why rock Wool Pipe Insulation Matters
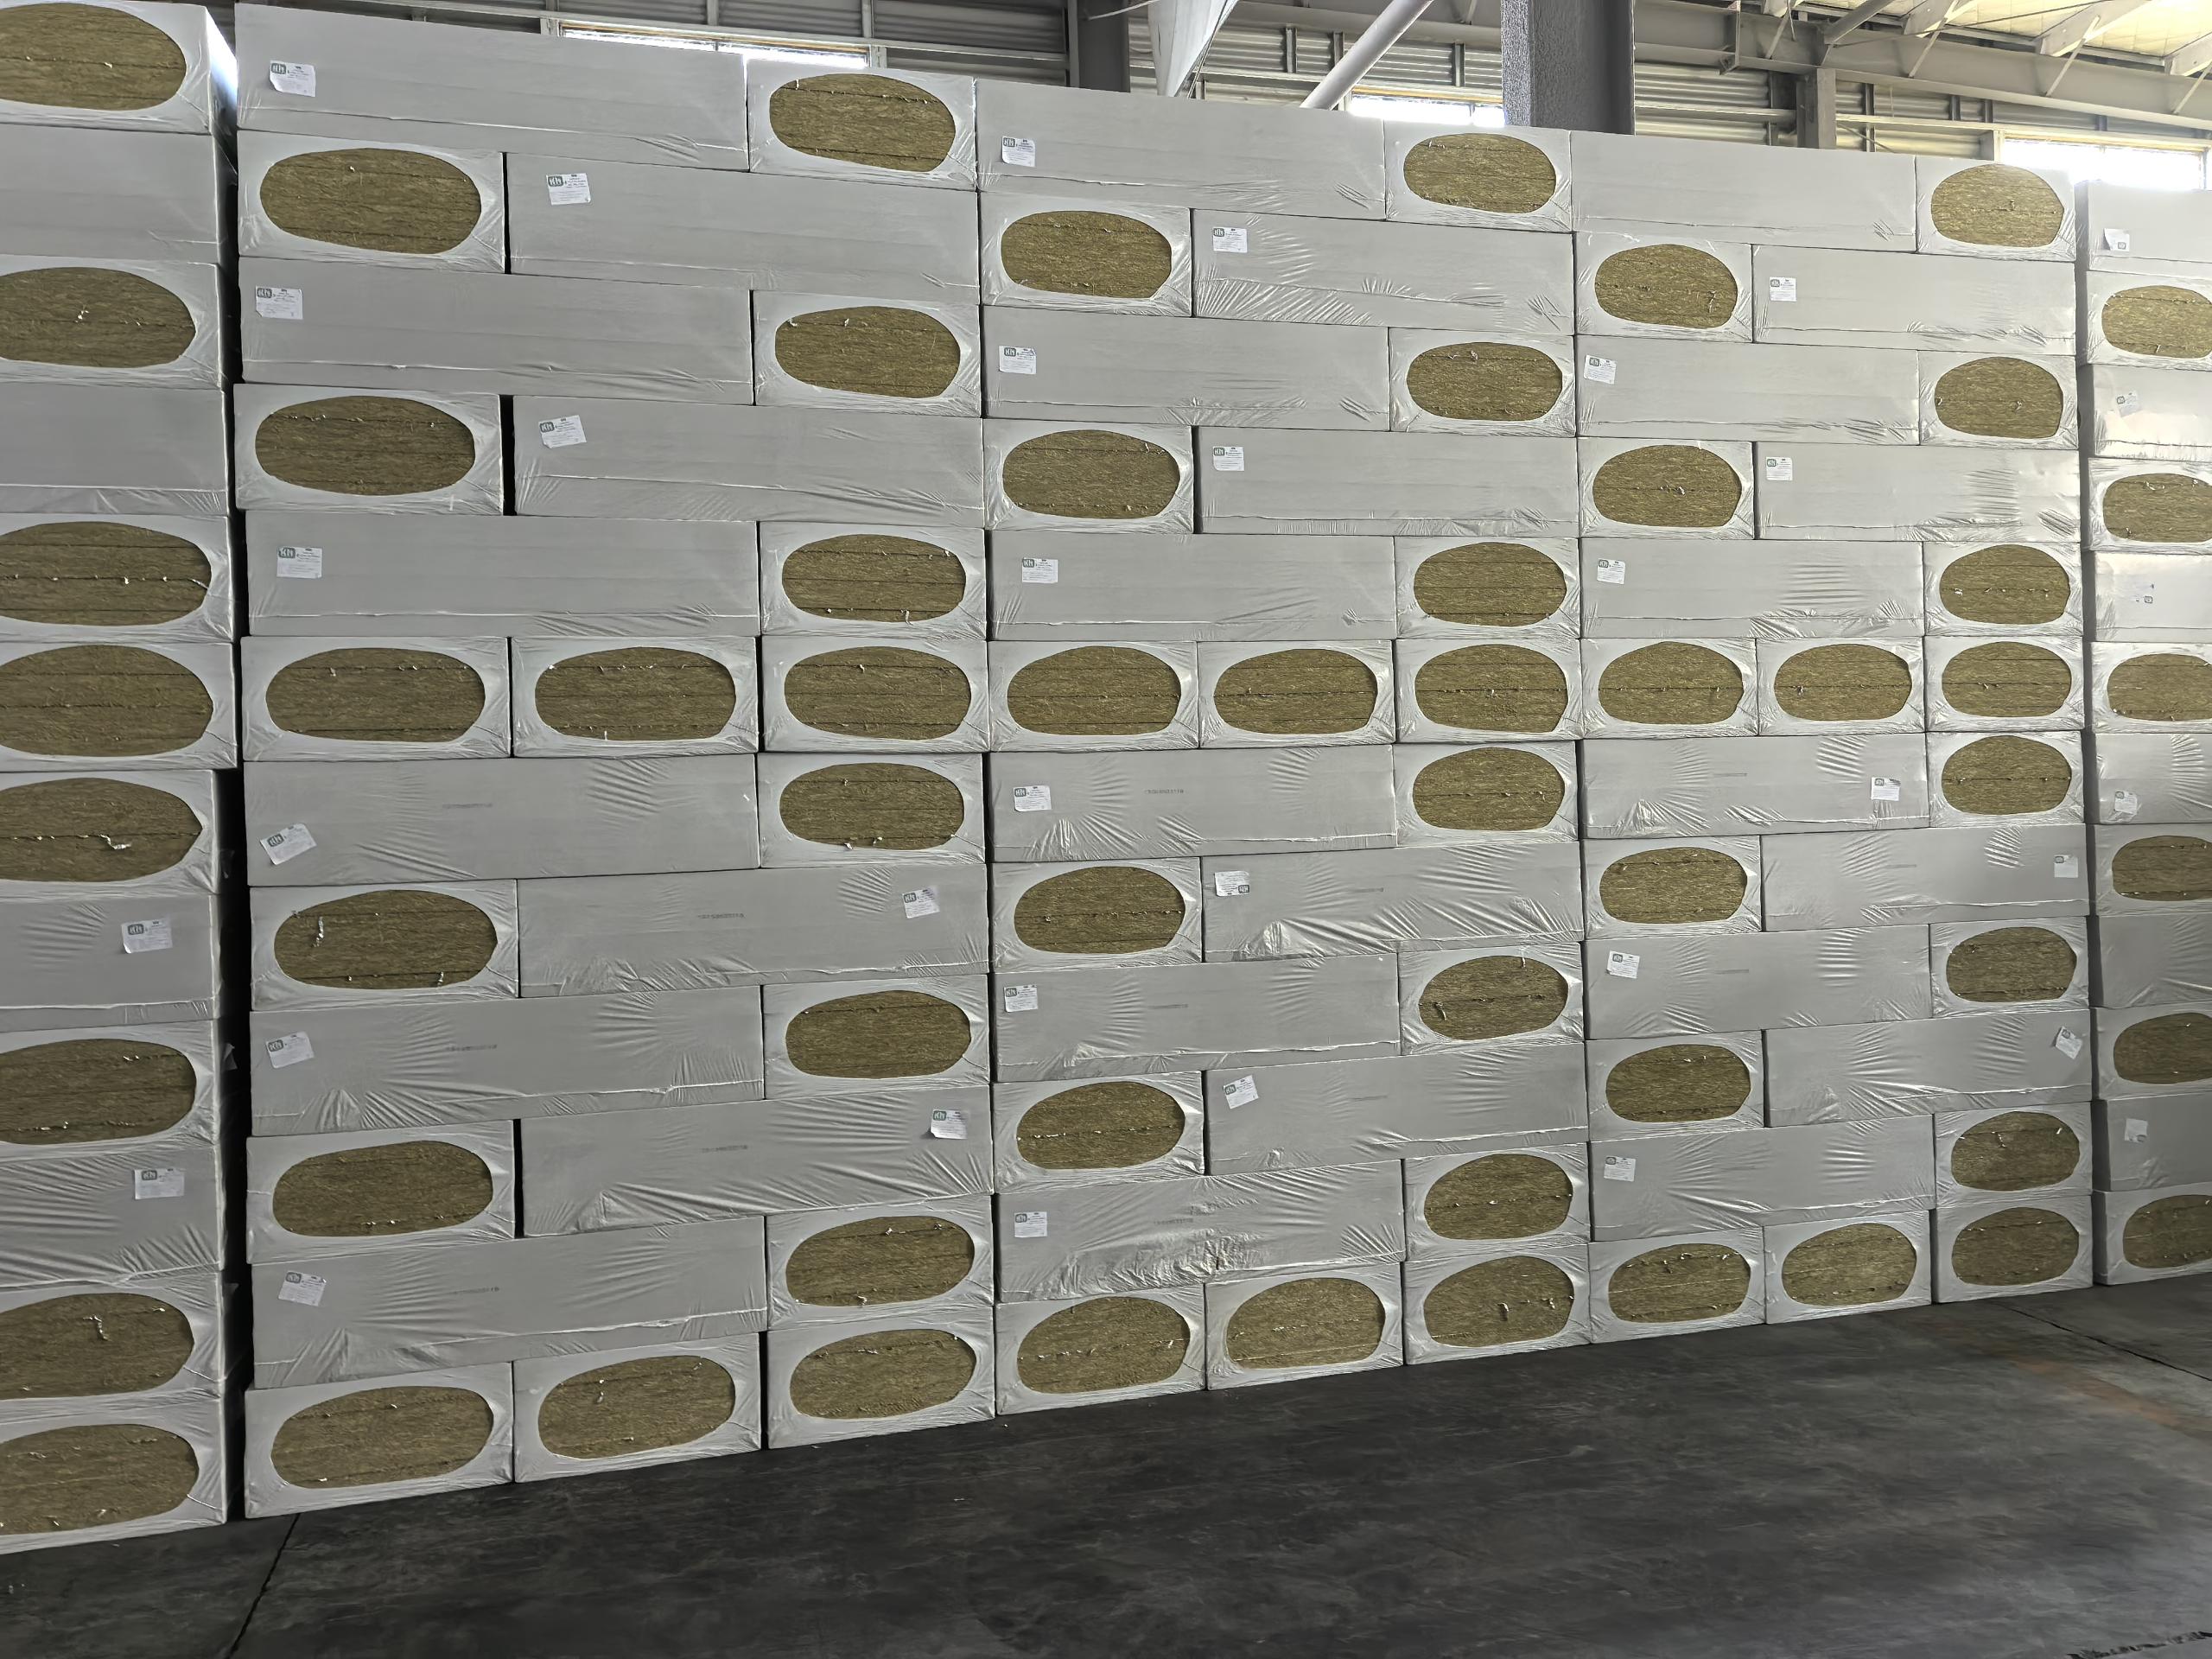
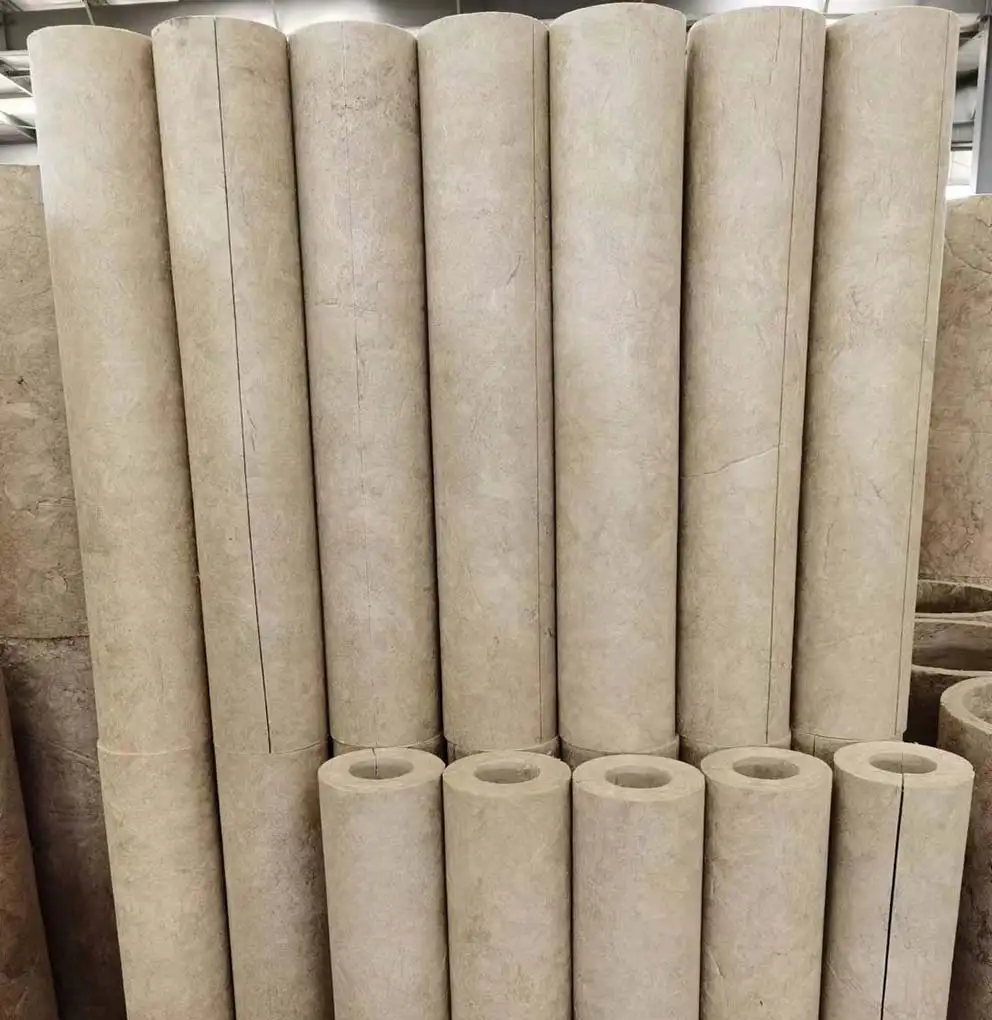
rock wool (mineral wool) is a popular choice for pipe insulation due to its:
- Superior thermal resistance: Slows heat loss/gain, cutting energy costs for heating/cooling.
- Sound-dampening properties: Reduces airborne and impact noise (ideal for residential or commercial spaces).
- Fire safety: Non-combustible and fire-resistant (rated for high-temperature applications).
- Durability: Resists moisture, mold, and corrosion when properly installed.
Tools & Materials You’ll Need
Before starting, gather these essentials:
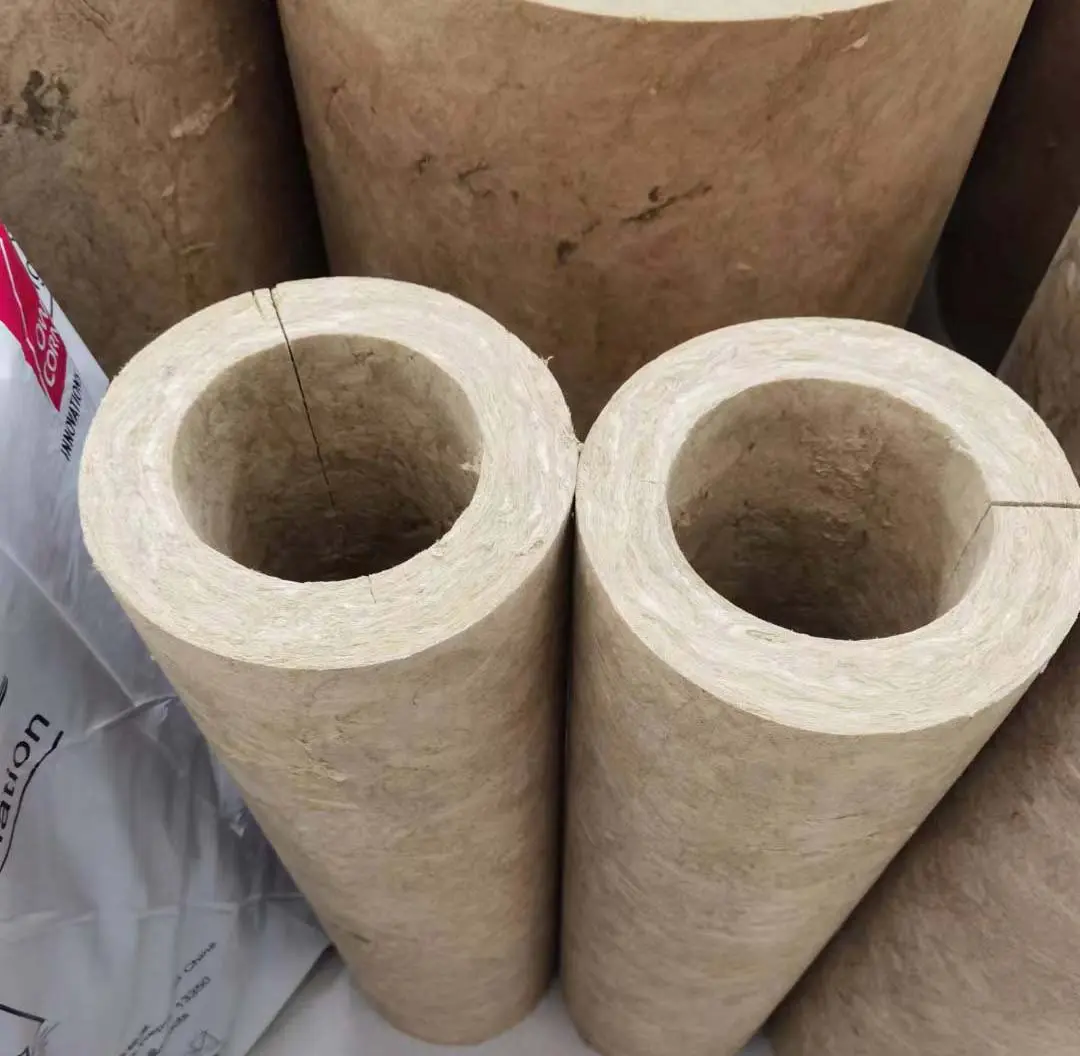
- rock wool pipe sections: Pre-cut or custom-sized to match your pipe diameter (ensure they’re labeled for your pipe size).
- Utility knife or saw: For trimming insulation if needed.
- Measuring tape: To confirm pipe diameter and insulation fit.
- Adhesive or mechanical fasteners: Depending on the installation method (adhesive for seamless coverage; staples/nails for securing to surfaces).
- Aluminum foil or vapor barrier: Optional but recommended for moisture protection in humid environments.
- Gloves & safety goggles: rock wool fibers can irritate skin/eyes—protect yourself.
Step 1: Prepare the Pipe & Workspace
Measure accurately: Start by measuring the outer diameter (OD) of your pipe. rock wool insulation is sold by OD, so ensure your sections match exactly (e.g., 2” OD pipe requires 2” insulation).
Clean the surface: Remove dirt, grease, or rust from the pipe using a wire brush or damp cloth. A clean surface improves adhesion (if using glue) and prevents gaps.
Plan the layout: Lay out the insulation sections along the pipe to visualize overlaps or joints. For long pipes, mark where cuts will be needed to avoid waste.
Step 2: Cut the rock Wool Insulation (If Needed)
rock wool is dense but easy to cut with a sharp utility knife or handsaw. Follow these tips:
- Use a straight edge (e.g., a ruler) to mark your cut line for precision.
- Cut slightly larger than the pipe diameter (by 1-2mm) to account for any expansion or minor misalignment.
- Wear gloves to handle sharp edges—rock wool can fray, but this won’t affect performance.
Step 3: Install the Insulation
There are two common methods: adhesive application (for smooth, seamless coverage) or mechanical fastening (for secure attachment to surfaces). Choose based on your pipe’s location (indoor/outdoor) and project needs.
Method 1: Adhesive Installation
- Apply a thin, even layer of pipe insulation adhesive to the back of the rock wool section (follow the adhesive manufacturer’s instructions for drying time).
- Press the insulation firmly onto the pipe, ensuring full contact. Smooth out air bubbles with a roller or your hand.
- For overlapping joints, apply adhesive to the edge of the first section and press the second section firmly into place. Overlaps should be 10-15mm for a tight seal.
Method 2: Mechanical Fastening
- Use a staple gun or galvanized nails to secure the insulation to the pipe or its mounting surface (e.g., wall brackets). Drive fasteners every 15-20cm along the length.
- For pipes in tight spaces (e.g., between studs), use metal bands or clips to hold the insulation in place.
Step 4: Seal Joints & Edges
Gaps between insulation sections or at pipe bends can reduce efficiency and let moisture in. Fix this by:
- Applying aluminum foil tape over seams (press firmly to seal).
- Using foam sealant (e.g., polyurethane caulk) for irregular gaps or curved surfaces.
- Wrapping the entire insulation with a vapor barrier (if required in humid climates) to prevent condensation.
Step 5: Final Touches & Safety Checks
- Trim any excess insulation with a utility knife for a clean look.
- Ensure all joints are smooth and secure—no loose flaps or gaps.
- Test for stability: Gently tug on the insulation to confirm it’s firmly attached.
Key Tips to Avoid Common Mistakes
- Don’t compress the insulation: rock wool works best when uncompressed—over-squeezing reduces its thermal performance.
- Avoid water exposure: While rock wool is moisture-resistant, prolonged wetness can degrade the material. Seal edges with tape or a vapor barrier in damp areas (e.g., basements, outdoor pipes).
- Follow fire codes: In commercial or industrial settings, ensure insulation meets local fire safety standards (rock wool is non-combustible, but check regional regulations).
Installing rock wool pipe insulation is a straightforward process that delivers long-term benefits for energy savings, noise reduction, and pipe protection. By measuring accurately, using the right tools, and sealing joints properly, you’ll ensure your insulation performs as intended for years.