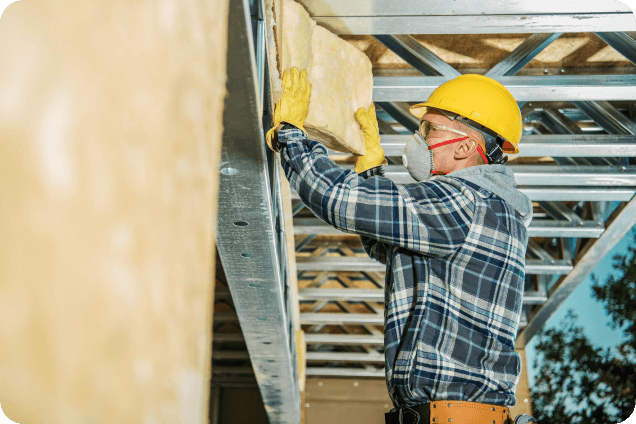
Installing glass wool boards is a critical step in enhancing thermal efficiency, soundproofing, and fire resistance in buildings, HVAC systems, or industrial facilities. However, improper installation can compromise performance, leading to energy waste, moisture issues, or even safety hazards. Whether you’re a contractor, DIY enthusiast, or project manager, understanding the key considerations during installation ensures optimal results.
Why Proper Installation Matters
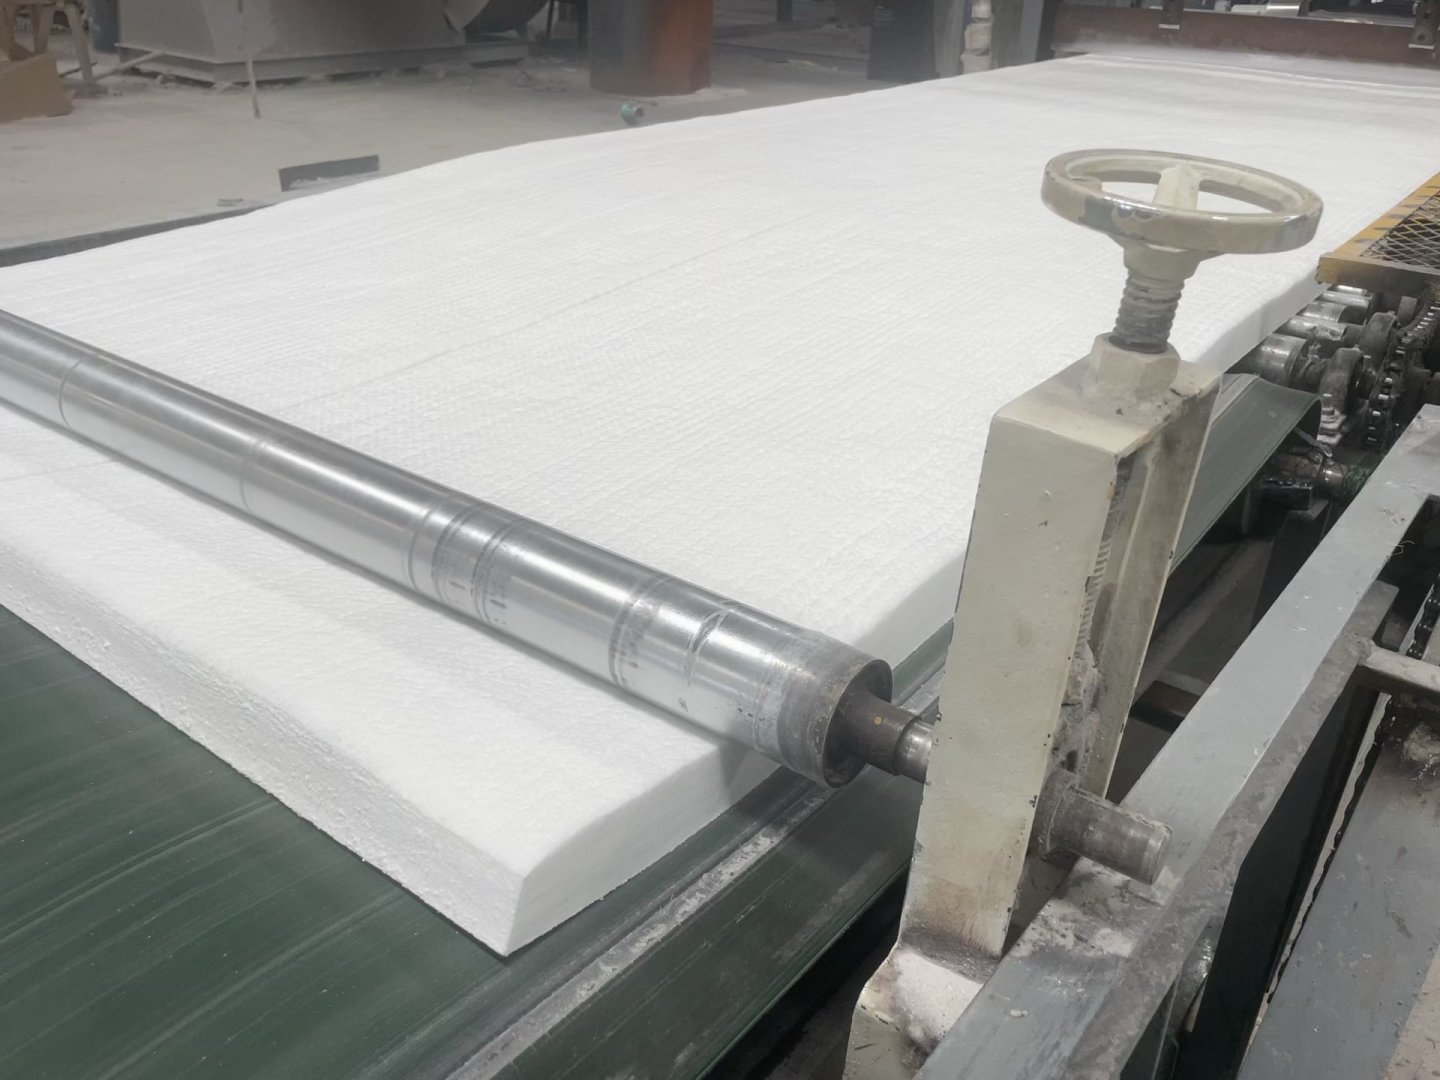
Glass wool boards are fibrous insulation materials made from molten glass, valued for their lightweight nature, fire resistance (often Class A1), and excellent thermal performance (low thermal conductivity as low as 0.038 W/m·K). But their effectiveness depends on correct installation:
- Gaps or compression reduce insulation efficiency by up to 30%.
- Moisture ingress can degrade fibers and promote mold growth.
- Poor fixation leads to board displacement over time, exposing gaps.

Key Pre-Installation Checks
Before cutting or fixing, address these factors to avoid costly mistakes:
1. Measure Accurately & Plan Layout
- Accurate dimensions: Measure the target area (walls, ceilings, ducts) with a tape measure, accounting for obstructions (pipes, electrical outlets). Glass wool boards are rigid—miscalculations lead to gaps or overlaps.
- Layout planning: Map out board placement to minimize cuts and waste. For large areas, align boards along the same plane to avoid uneven surfaces.
2. Gather the Right Tools & Materials
Essential tools include:
- Cutting tools: A sharp utility knife (for straight cuts) or a circular saw with a carbide blade (for precise angles; avoid sawdust by wetting the blade).
- Fixing materials: Galvanized nails/staples (for wood framing) or construction adhesive (for drywall; choose adhesive rated for glass wool).
- Sealing supplies: Aluminum foil tape (for joint sealing), acoustic sealant (for gaps around pipes), or spray foam (for irregular edges).
3. Check Substrate Condition
Ensure the surface to be insulated is:
- Dry: Moisture weakens adhesion and promotes mold. Wait for walls/ceilings to dry completely after painting or plastering.
- Smooth & stable: Fill cracks or holes with spackle to prevent boards from shifting.
- Structurally sound: Avoid installing over rotten wood or unstable framing—repair first.
Installation Best Practices
1. Cut Boards Correctly
- Measure twice, cut once: Mark cuts with a straightedge. For curved edges (e.g., around pipes), use a jigsaw with a fine-tooth blade.
- Avoid fiber damage: Wet the blade slightly to reduce friction and prevent glass fibers from fraying (wear gloves and a dust mask to avoid irritation).
2. Fix Boards Securely
- Staple/nail spacing: For wood framing, drive staples/nails every 15–20cm (6–8 inches) along the board’s edges and center. Avoid over-driving—protruding fasteners puncture the board.
- Adhesive application: For drywall or metal surfaces, apply a continuous bead of construction adhesive (10–15cm wide) to the board’s back. Press firmly to eliminate air bubbles.
3. Seal Joints & Gaps
- Tape all seams: Overlap aluminum foil tape over board joints (width ≥5cm) to prevent heat transfer through gaps. Press firmly to ensure adhesion.
- Seal around penetrations: Use acoustic sealant or high-temperature caulk around pipes, vents, or electrical boxes. Gaps here are common “thermal bridges” that reduce efficiency.
4. Maintain Proper Thickness
Install boards at the manufacturer-recommended thickness (e.g., 50mm, 100mm). Compressing boards to fit tighter spaces reduces their R-value (thermal resistance)—opt for thicker boards or adjust spacing instead.
Post-Installation Care
1. Inspect for Defects
After installation, check for:
- Loose boards: Tap gently—if they rattle, re-fix with additional staples/adhesive.
- Visible gaps: Re-seal with tape or sealant.
- Moisture spots: Wipe dry immediately; if mold appears, consult a professional.
2. Allow for Expansion
Glass wool expands slightly over time. Leave a 2–3mm gap between boards and walls/ceilings (if not in contact with framing) to prevent buckling.
3. Regular Maintenance
- Clean periodically: Use a soft brush or vacuum to remove dust from surfaces—avoid water jets, which weaken fibers.
- Check seals annually: Reapply sealant to joints if cracks develop (common in high-humidity areas like bathrooms).

Common Installation Mistakes to Avoid
- Ignoring moisture barriers: In humid climates, pair glass wool with a vapor barrier (e.g., plastic sheeting) to prevent moisture buildup.
- Overlapping boards incorrectly: Overlaps create uneven thickness—align edges neatly.
- Using the wrong adhesive: Some adhesives degrade at high temperatures (e.g., near boilers). Choose high-temp adhesives for industrial applications.
Prioritize Precision for Long-Lasting Performance
Installing glass wool boards isn’t just about “sticking them on”—it’s about precision, preparation, and attention to detail. By measuring accurately, using the right tools, sealing gaps, and following manufacturer guidelines, you’ll maximize energy efficiency, fire safety, and durability.