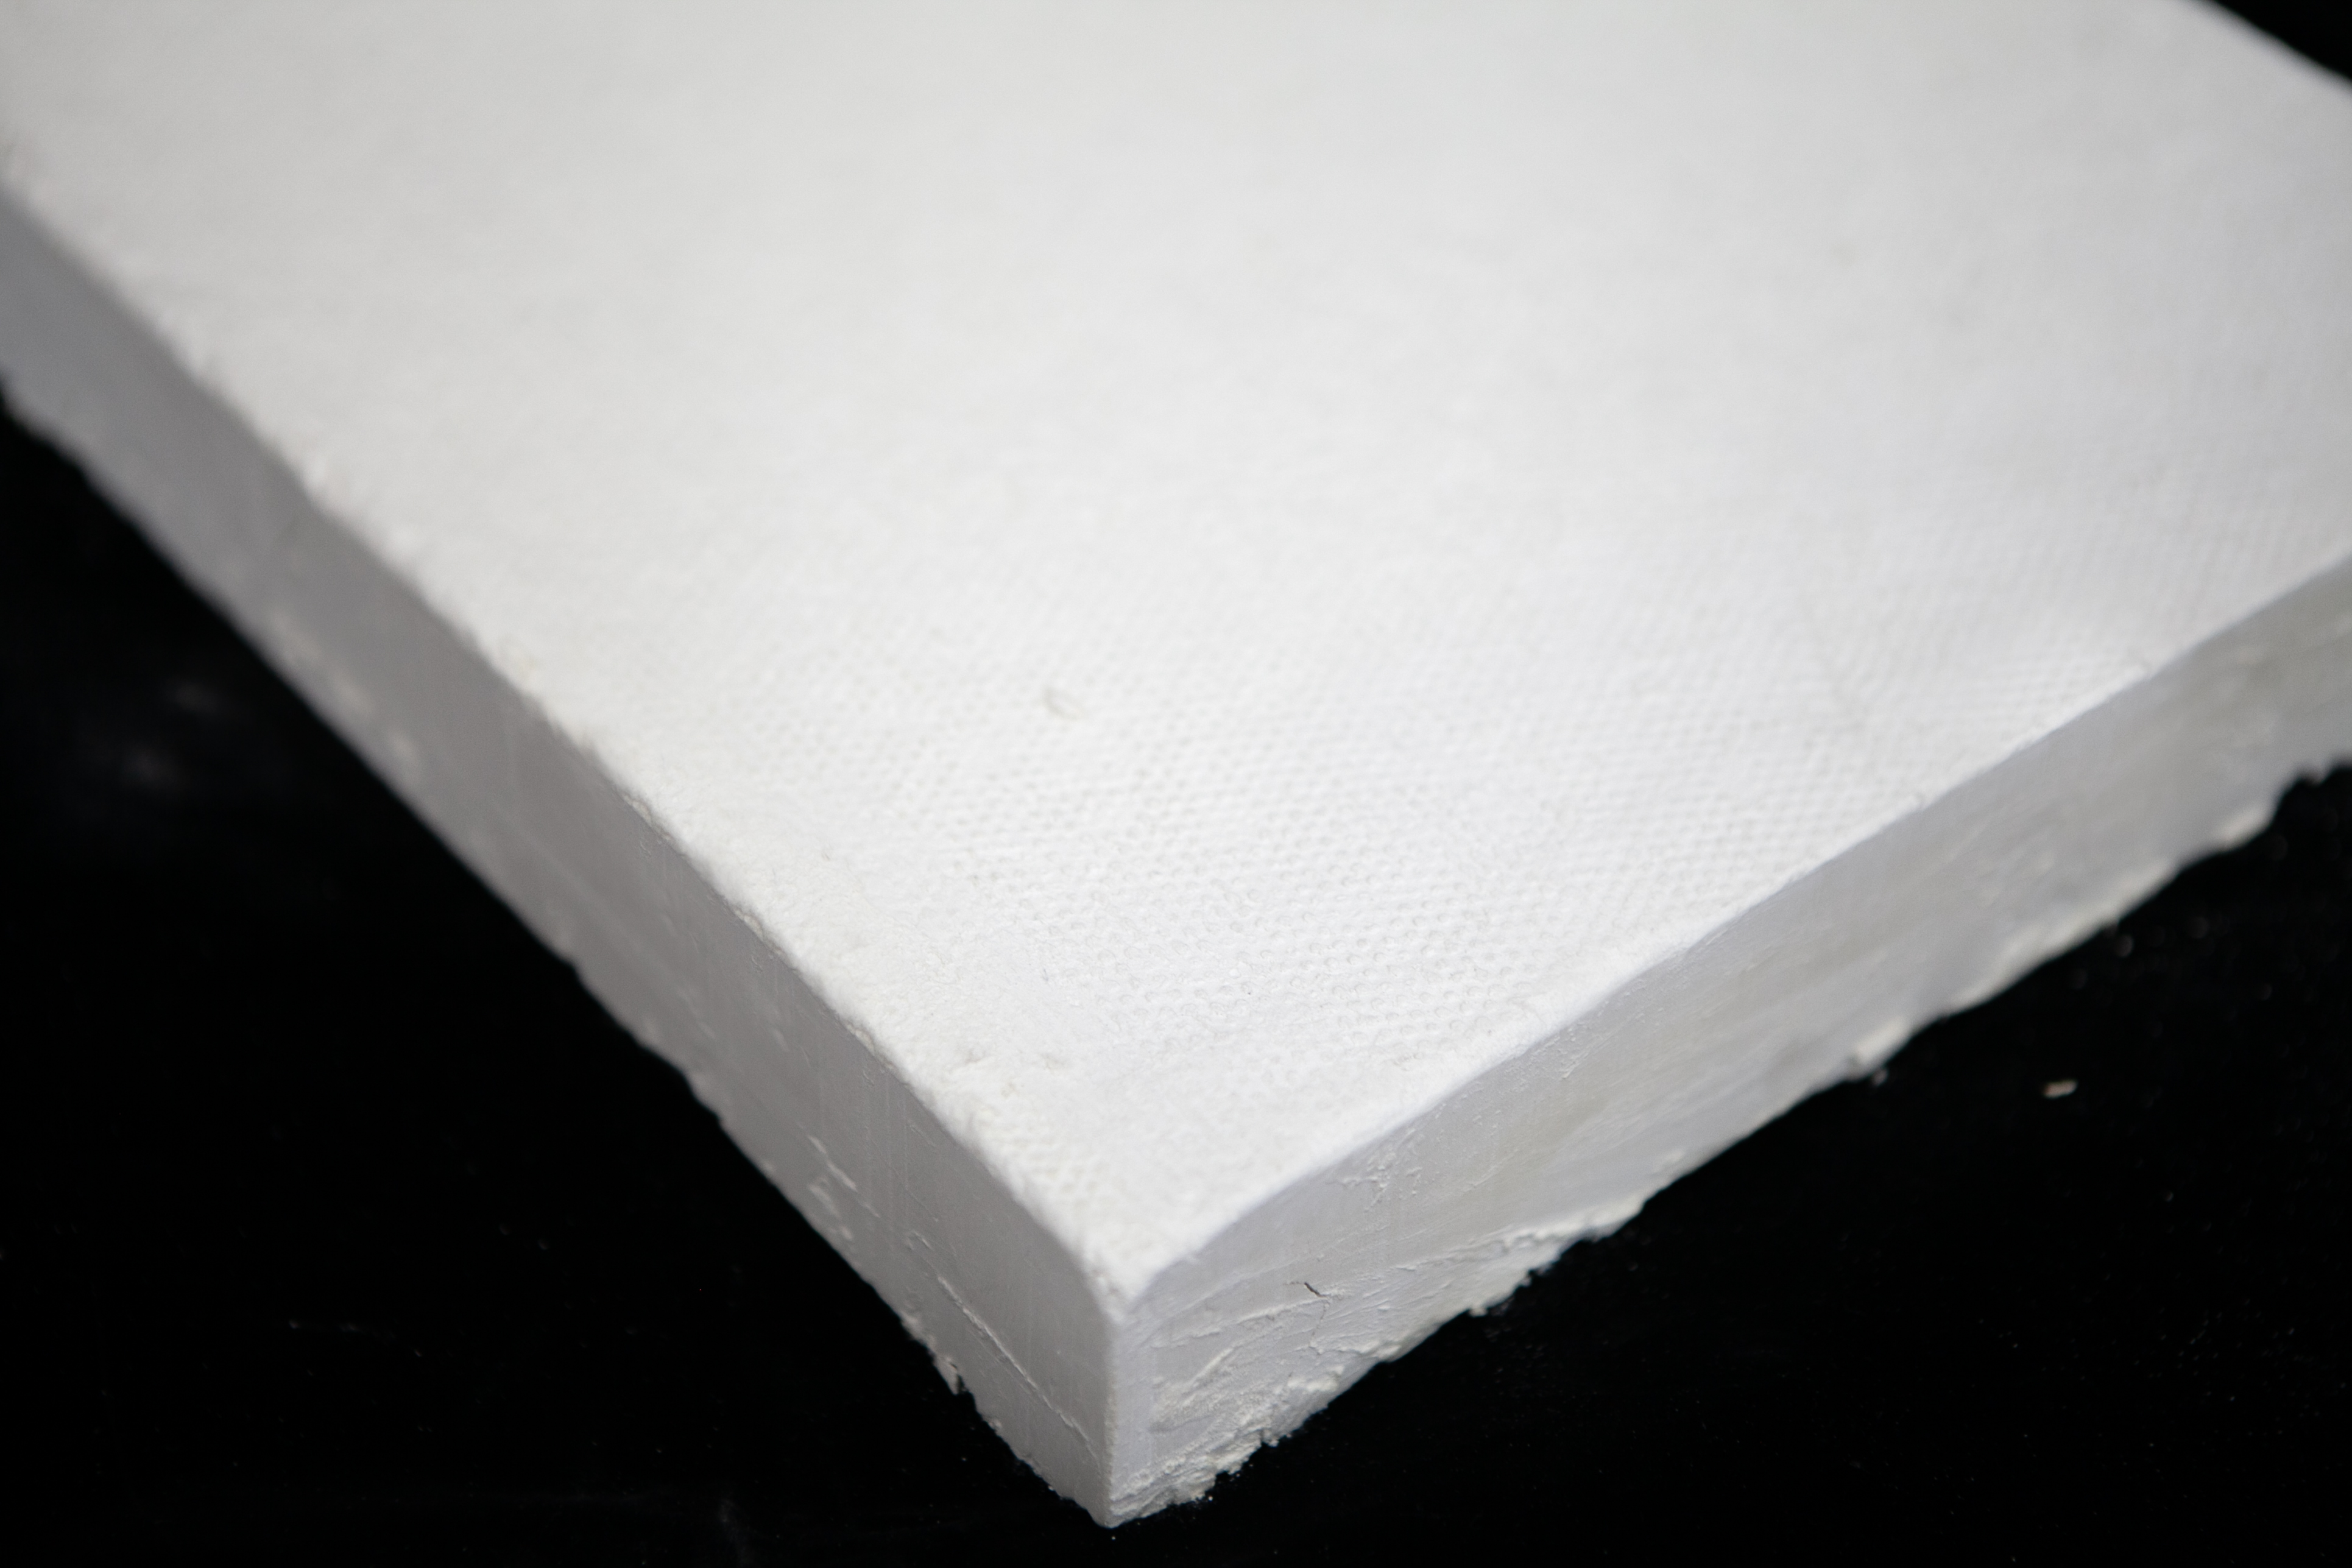
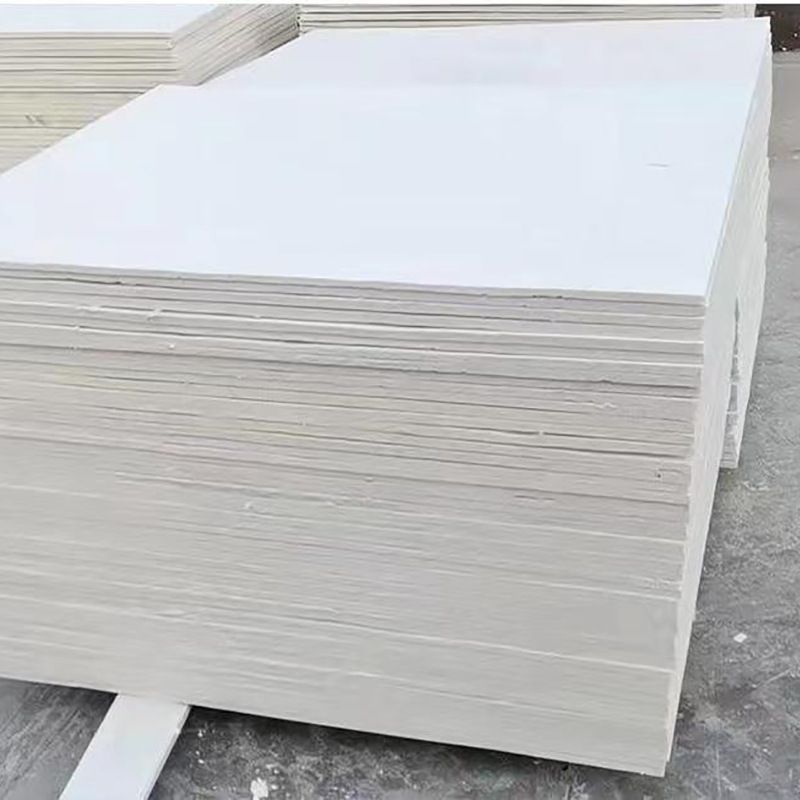
Calcium silicate board is a versatile building material prized for its fire resistance, moisture resistance, and durability. Whether you’re renovating a home, constructing a commercial space, or tackling a DIY project, cutting this material accurately is essential for achieving professional results. This guide will walk you through the process of cutting calcium silicate board efficiently while prioritizing safety and precision.
Why Proper Cutting Matters
Incorrect cutting can lead to:
- Chipped edges: Ruining the aesthetic appeal.
- Uneven lines: Causing installation difficulties.
- Dust hazards: Posing health risks if not managed properly.
By following the right techniques, you’ll minimize waste, save time, and ensure a flawless finish.
Tools You’ll Need
- Circular Saw with a Carbide-Tipped Blade
- Ideal for straight cuts.
- Use a blade with 60–80 teeth for clean edges.
- Pro Tip: Opt for a diamond blade for thicker boards (e.g., 20mm+).
- Jigsaw
- Perfect for curved or intricate cuts.
- Pair with a fine-toothed blade (e.g., 24 TPI) to reduce chipping.
- Utility Knife
- Suitable for thin boards (≤6mm) or scoring before snapping.
- Safety Gear
- Dust mask, goggles, gloves, and ear protection.
- Important: Calcium silicate dust can irritate lungs, so always wear a respirator rated for silica dust.
- Measuring and Marking Tools
- Tape measure, carpenter’s square, and a marking pen.
Step-by-Step Cutting Guide
1. Prepare Your Workspace
- Clear the area of debris and tripping hazards.
- Clamp the board securely to a stable workbench to prevent movement.
- Wet the cutting line slightly with a spray bottle to reduce dust (optional but recommended).
2. Measure and Mark
- Use a straightedge to draw a clear cutting line on the board’s surface.
- For angled cuts, mark both the front and back to ensure alignment.
3. Choose Your Cutting Method
A. Using a Circular Saw
- Set the blade depth to 1–2mm deeper than the board’s thickness to avoid overcutting.
- Cut slowly with steady pressure, letting the blade do the work.
- Avoid forcing the saw—this causes vibrations and chipping.
B. Using a Jigsaw
- Drill a starter hole if cutting from the middle of the board.
- Maintain a moderate speed and guide the tool smoothly along the line.
C. Scoring and Snapping (For Thin Boards)
- Score the line deeply with a utility knife (3–4 passes).
- Bend the board gently along the scored line to snap it cleanly.
4. Post-Cutting Finish
- Sand the edges with 120-grit sandpaper for a smooth finish.
- Wipe away dust with a damp cloth to prevent respiratory issues.
Safety First: Key Precautions
- Ventilation: Work outdoors or in a well-ventilated space.
- Dust Control: Use a vacuum attachment on your saw or a dust extraction system.
- Eye Protection: Wear goggles to shield against flying debris.
Common Mistakes to Avoid
- Using a dull blade: Causes rough edges and overheating.
- Rushing the cut: Leads to uneven lines and board damage.
- Neglecting dust management: Risks long-term health effects.
FAQs
Q: Can I cut calcium silicate board with a handsaw?
A: Yes, but it’s labor-intensive. Use a fine-toothed handsaw and cut slowly to minimize chipping.
Q: How do I cut holes for outlets or pipes?
A: Drill pilot holes with a masonry bit, then use a jigsaw to connect them.
Q: What’s the best way to store unused boards?
A: Keep them flat in a dry area, away from moisture.
Conclusion
Cutting calcium silicate board doesn’t require advanced skills—just the right tools, techniques, and safety measures. By mastering these steps, you’ll achieve clean, professional results every time. For more tips, check out our guide on [Calcium Silicate Board Installation Best Practices] or watch our video tutorial below.