Installing a ceramic fiber blanket correctly is crucial to maximizing its insulation performance, safety, and durability. Whether you’re lining a furnace, insulating a wood stove, or wrapping high-temperature pipes, proper installation ensures minimal heat loss and longer system life.
In this article, we’ll walk you through how to install ceramic fiber blanket with easy-to-follow steps, tools required, and expert tips to help you get the job done right.
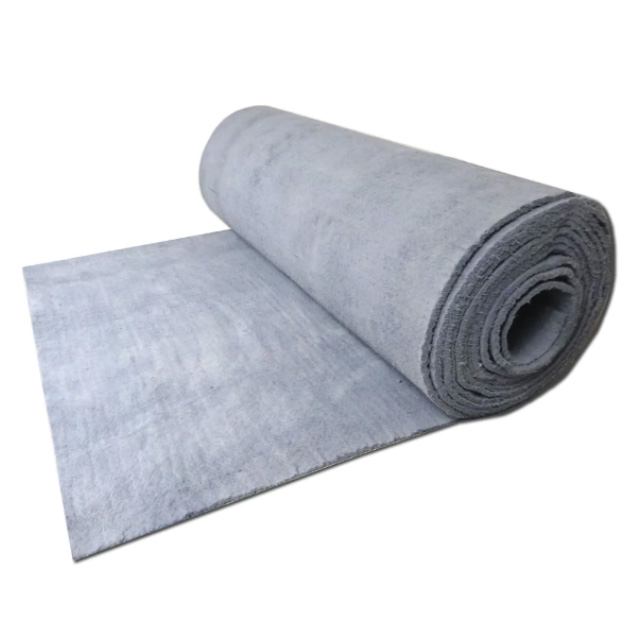
A ceramic fiber blanket is a lightweight, high-temperature insulation product made from alumina-silica fibers. It is commonly used in industrial and residential thermal insulation applications due to its:
High thermal resistance (up to 2300°F / 1260°C or more)
Low thermal conductivity
Excellent flexibility and handling properties
Resistance to thermal shock and chemical corrosion
Incorrect or loose installation of ceramic fiber insulation can lead to:
Heat leaks and reduced energy efficiency
Material degradation or damage
Safety risks in high-temperature environments
That’s why it’s important to understand the correct installation method.
Before you start, gather the following items:
✅ Ceramic fiber blanket (choose appropriate thickness/density)
✅ Measuring tape
✅ Utility knife or insulation cutter
✅ High-temperature adhesive or stainless steel insulation pins
✅ Protective gear (gloves, respirator, goggles)
✅ Wire mesh or metal fasteners (optional for reinforcement)
Carefully measure the surface you want to insulate—whether it's the interior of a kiln, a stove chamber, or a metal pipe. This will help reduce waste and ensure a tight fit.
Use a sharp utility knife or insulation cutter to cut the blanket to your required dimensions. For complex shapes, create templates from cardboard before cutting.
Ensure the surface is clean, dry, and free from dust, grease, or old insulation. A smooth, clean base will improve adhesion and reduce risk of detachment.
There are two main ways to install the blanket depending on your application:
Apply an even coat of high-temp ceramic adhesive on the surface.
Firmly press the ceramic blanket against the adhesive.
Hold for several minutes or use temporary clamps.
Weld or glue stainless steel insulation pins onto the surface.
Push the blanket onto the pins and secure with speed clips.
Trim excess material around fasteners for a flush finish.
Slightly overlap the edges of each panel to prevent heat leakage. For high-performance sealing, apply additional adhesive or use ceramic fiber tape over the seams.
In high-vibration or high-velocity environments (like furnaces or kilns), reinforce the blanket using wire mesh, stainless steel lath, or mechanical fasteners.
Double-check for:
Gaps or uninsulated areas
Loose ends or sagging material
Proper seam alignment
Always wear gloves, safety goggles, and a respirator mask to avoid irritation from ceramic fibers.
Work in a well-ventilated area.
Avoid excessive bending or over-compressing the blanket.
Store leftover material in a sealed container.
Now that you know how to install ceramic fiber blanket, you can ensure maximum insulation performance in any high-temperature environment. Whether you're building a forge, insulating a boiler, or lining a pizza oven, proper installation is the key to safety, efficiency, and long-lasting protection.


