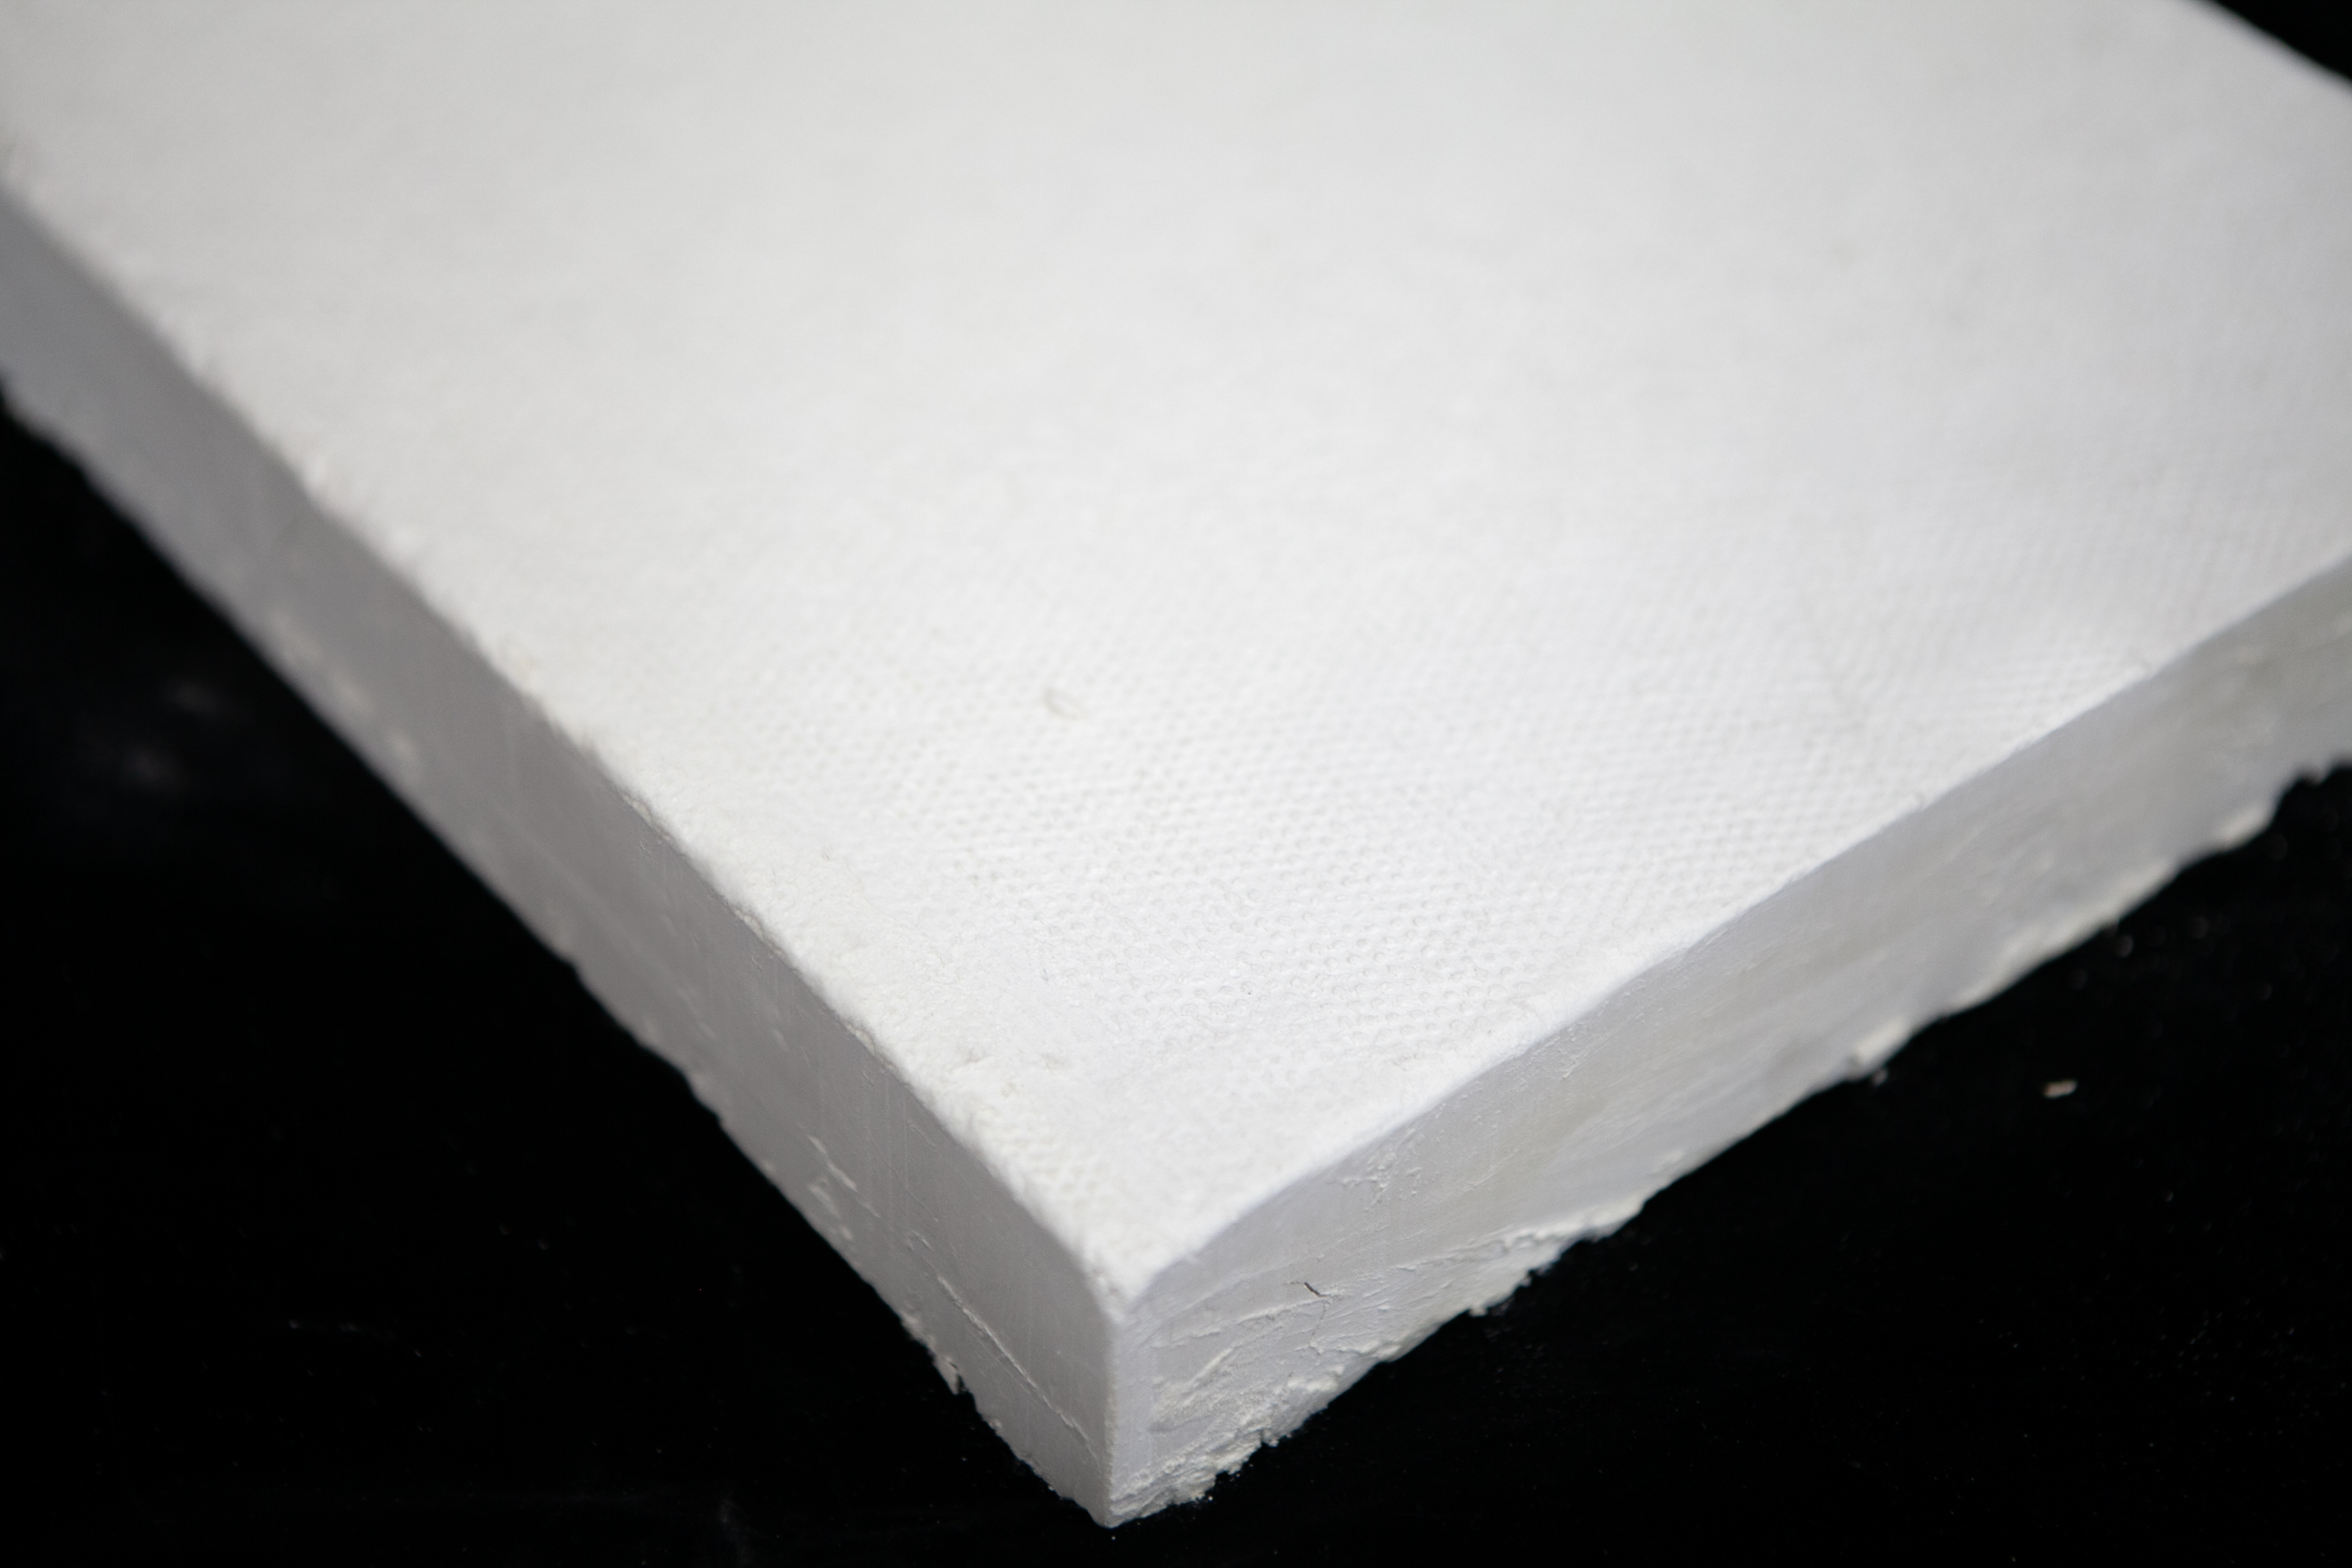
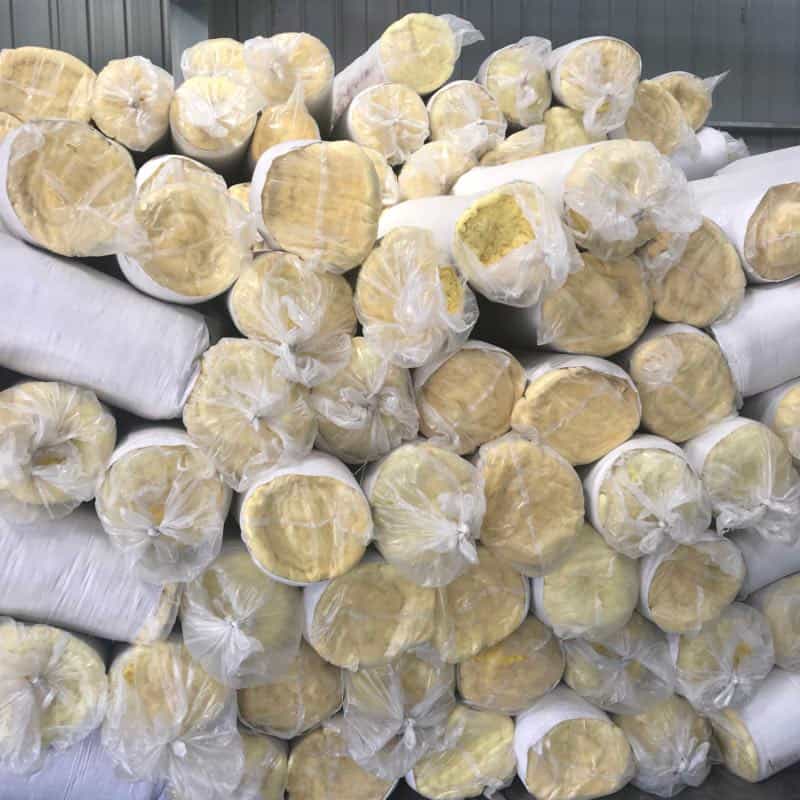
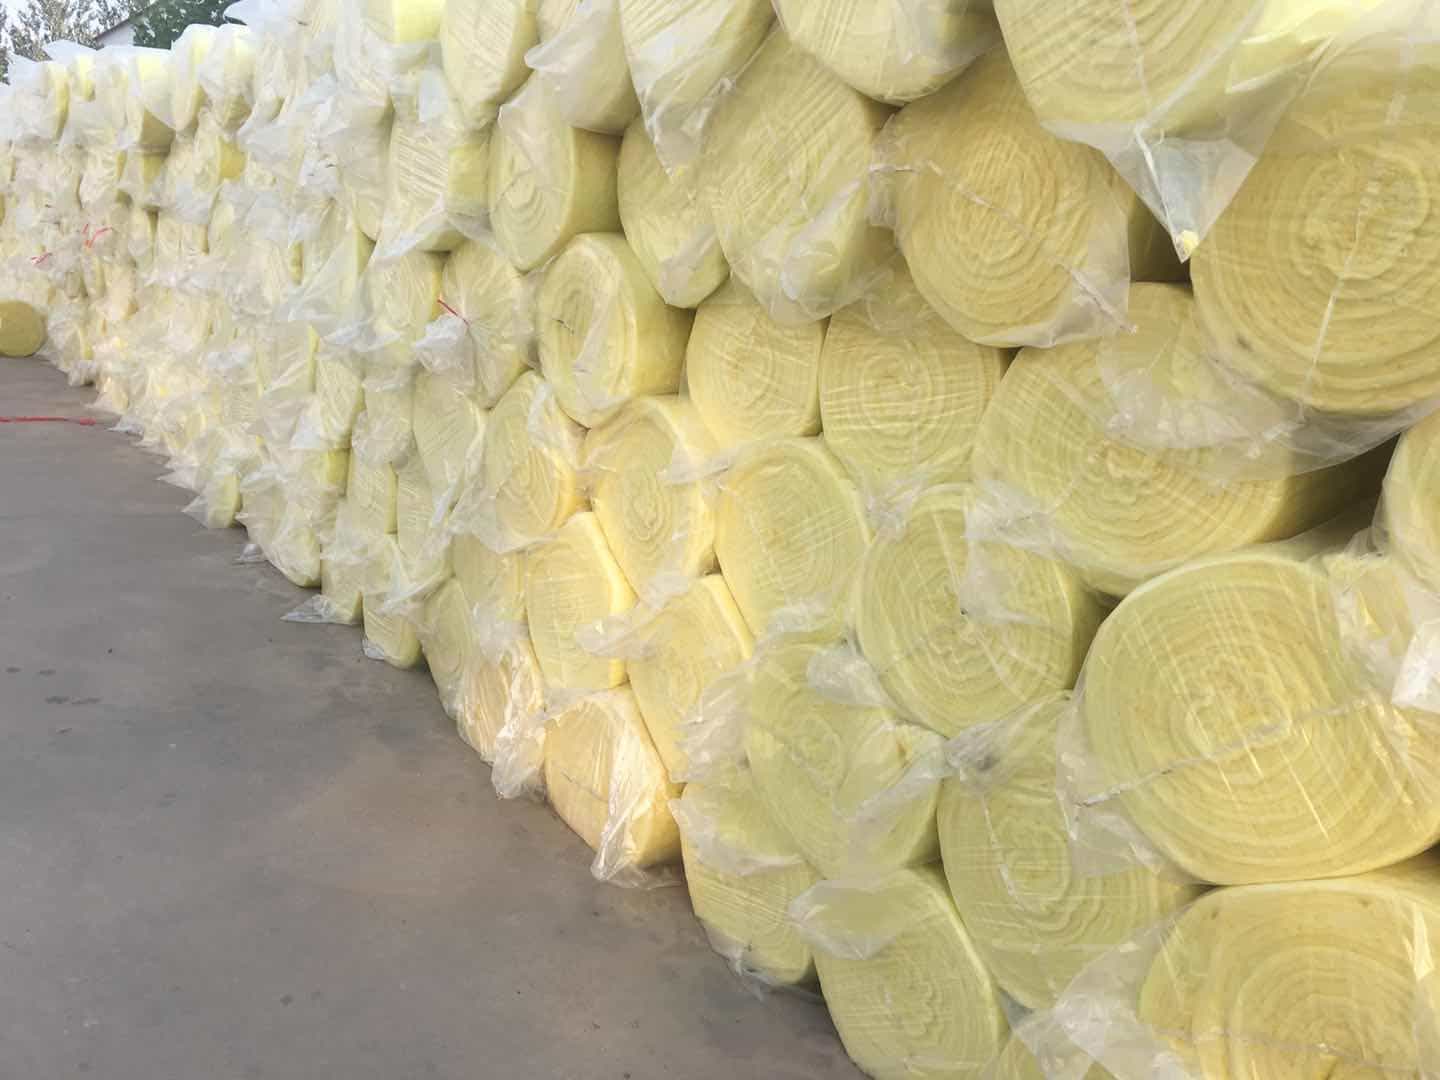
Glass wool insulation blanket, renowned for its thermal efficiency, acoustic absorption, and fire resistance, is a cornerstone of modern construction and industrial insulation. Proper installation is critical to unlock its full potential—ensuring energy savings, safety, and longevity. This guide breaks down the installation process into actionable steps, while addressing common challenges and best practices for diverse applications.
1. Preparation: Safety & Site Readiness
- Safety Gear: Wear gloves, goggles, and a mask to prevent skin irritation and inhalation of fibers.
- Surface Preparation: Clean the installation area of dust, debris, and moisture. For metal surfaces, remove rust or oil to ensure adhesive bond.
- Tools Checklist:
- Measuring tape, utility knife, straight edge (for cutting).
- Adhesive (for walls/ceilings) or mechanical fasteners (for industrial settings).
- Stainless steel lacing wire/pliers (for removable blankets).
2. Cutting & Fitting: Precision Matters
- Measure Twice: Account for overlaps (5-10cm) and obstacles like pipes or ducts.
- Cutting Technique: Use a sharp utility knife with a straight edge for clean edges. For curved surfaces, make radial cuts to avoid bunching.
- Layering Strategy: In extreme temperatures, overlap blankets by 10-15cm and stagger joints to minimize thermal bridges.
3. Installation Methods by Application
A. Walls & Ceilings (Residential/Commercial)
- Adhesive Method: Apply adhesive in a zigzag pattern, pressing the blanket firmly to eliminate air gaps.
- Staple Gun Alternative: Use heavy-duty staples every 15cm along edges for lightweight applications.
- Pro Tip: Add vapor barrier (e.g., Kraft paper) in humid climates to prevent condensation.
B. Industrial Pipes & Ducts
- Wrap & Secure: Use stainless steel lacing wire to fasten edges, maintaining 1-2cm compression for snug fit.
- Valve/Flange Areas: Cut flaps around protrusions and seal with high-temperature tape.
- Safety Note: Ensure equipment is cool (below 60°C) before installation.
C. Removable Covers (Machinery/Boilers)
- Custom Fitting: Order pre-cut blankets with rivet holes for easy reattachment.
- Reinstallation: Align labels with equipment markings to avoid gaps. Use pliers to tighten lacing wire uniformly.
4. Post-Installation Checks
- Thermal Imaging: Scan for cold spots indicating gaps (critical for cryogenic applications).
- Adhesive Cure Time: Wait 24-48 hours before painting or cladding.
- Fire Safety: Verify compliance with ASTM E84 or EN 13501-1 flame spread ratings.
5. Troubleshooting Common Issues
- Sagging Blankets: Add support brackets every 60cm for horizontal installations.
- Fiber Shedding: Seal edges with aluminum foil tape or spray adhesive.
- Mold Growth: Ensure vapor barrier integrity and ventilation in high-humidity zones.
6. Maintenance & Longevity
- Inspections: Check annually for tears or compression in high-traffic areas.
- Cleaning: Use a HEPA vacuum; avoid water jets to prevent fiber degradation.
- Replacement: Replace if thermal conductivity exceeds 0.05 W/m·K (tested via ASTM C177).
Conclusion
Proper installation of glass wool insulation blanket reduces energy costs by up to 40% and enhances workplace safety. Whether insulating a residential attic or a petrochemical furnace, adherence to these steps ensures peak performance. For complex projects, consult manufacturers’ load-bearing charts and corrosion resistance guides to avoid costly rework.