Preparation Before Installation
1. Material and Tool Gathering
Before starting the installation, ensure that you have all the necessary materials and tools ready. The key materials include
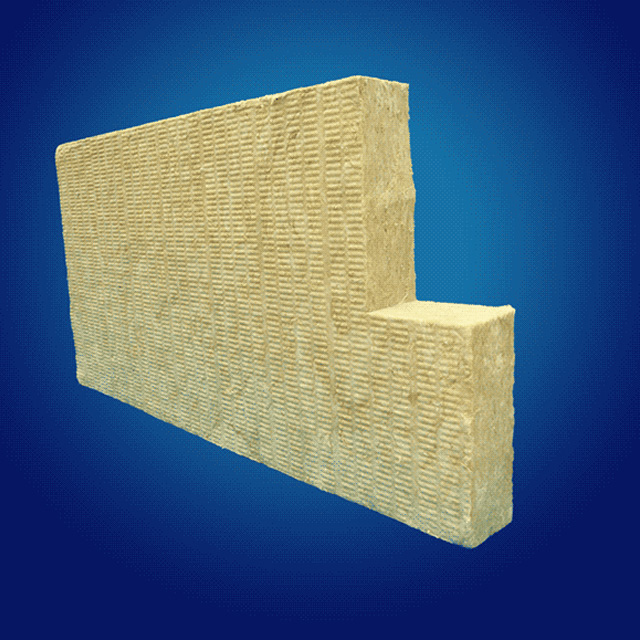
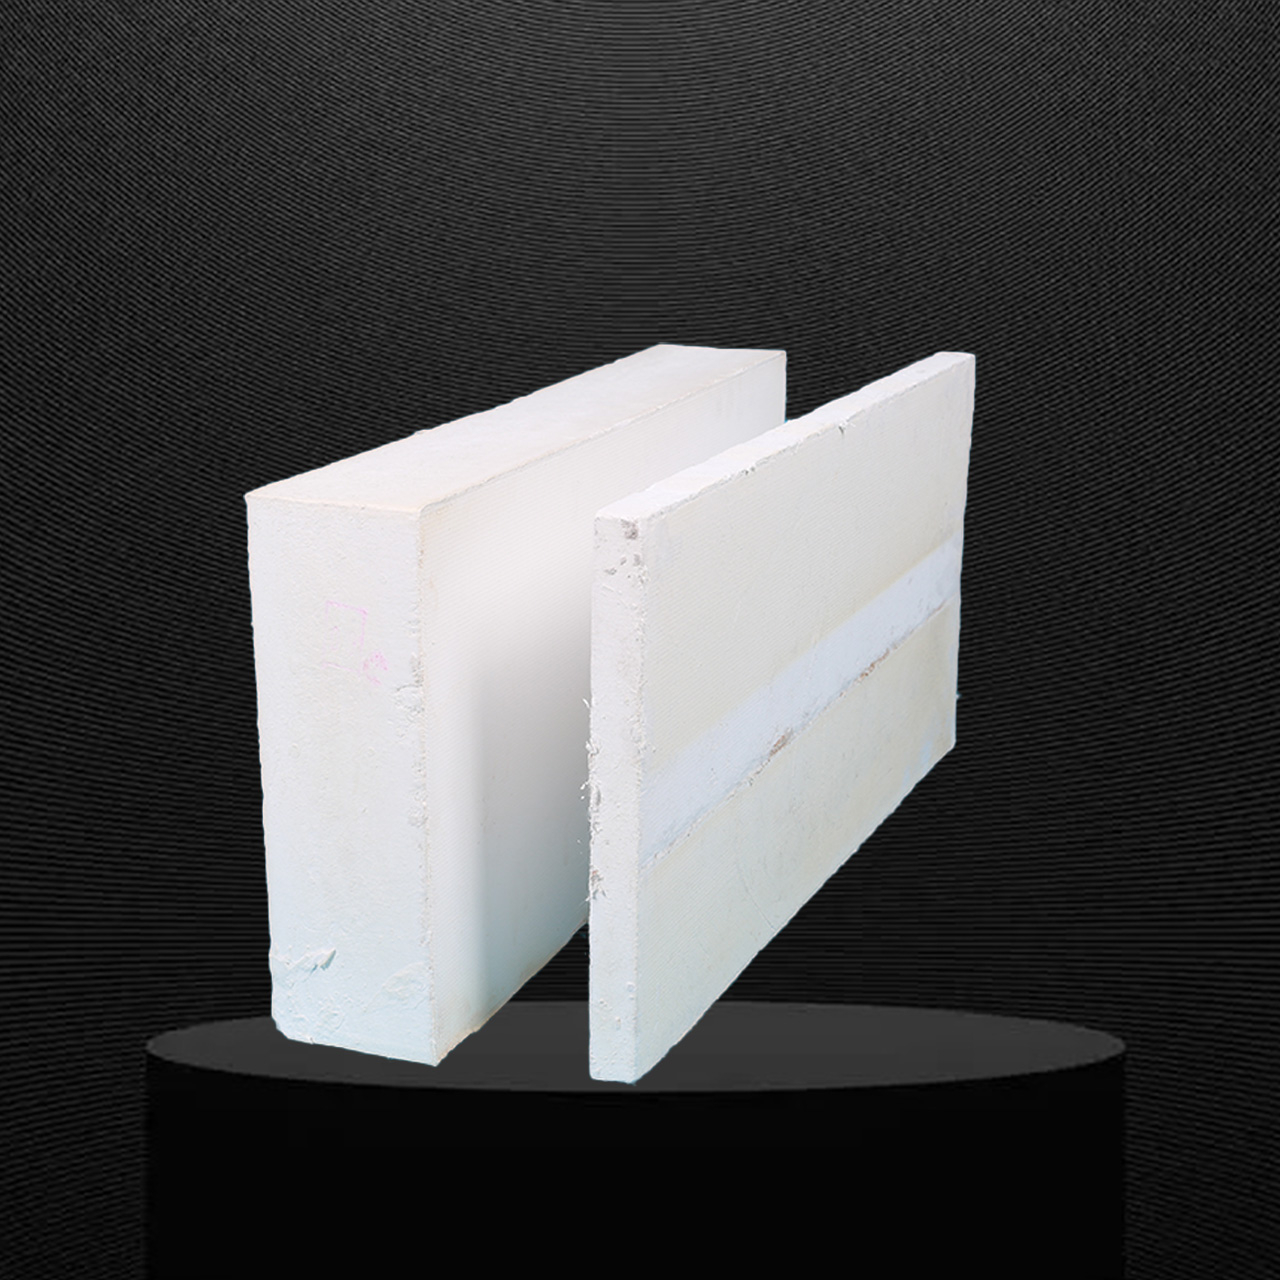
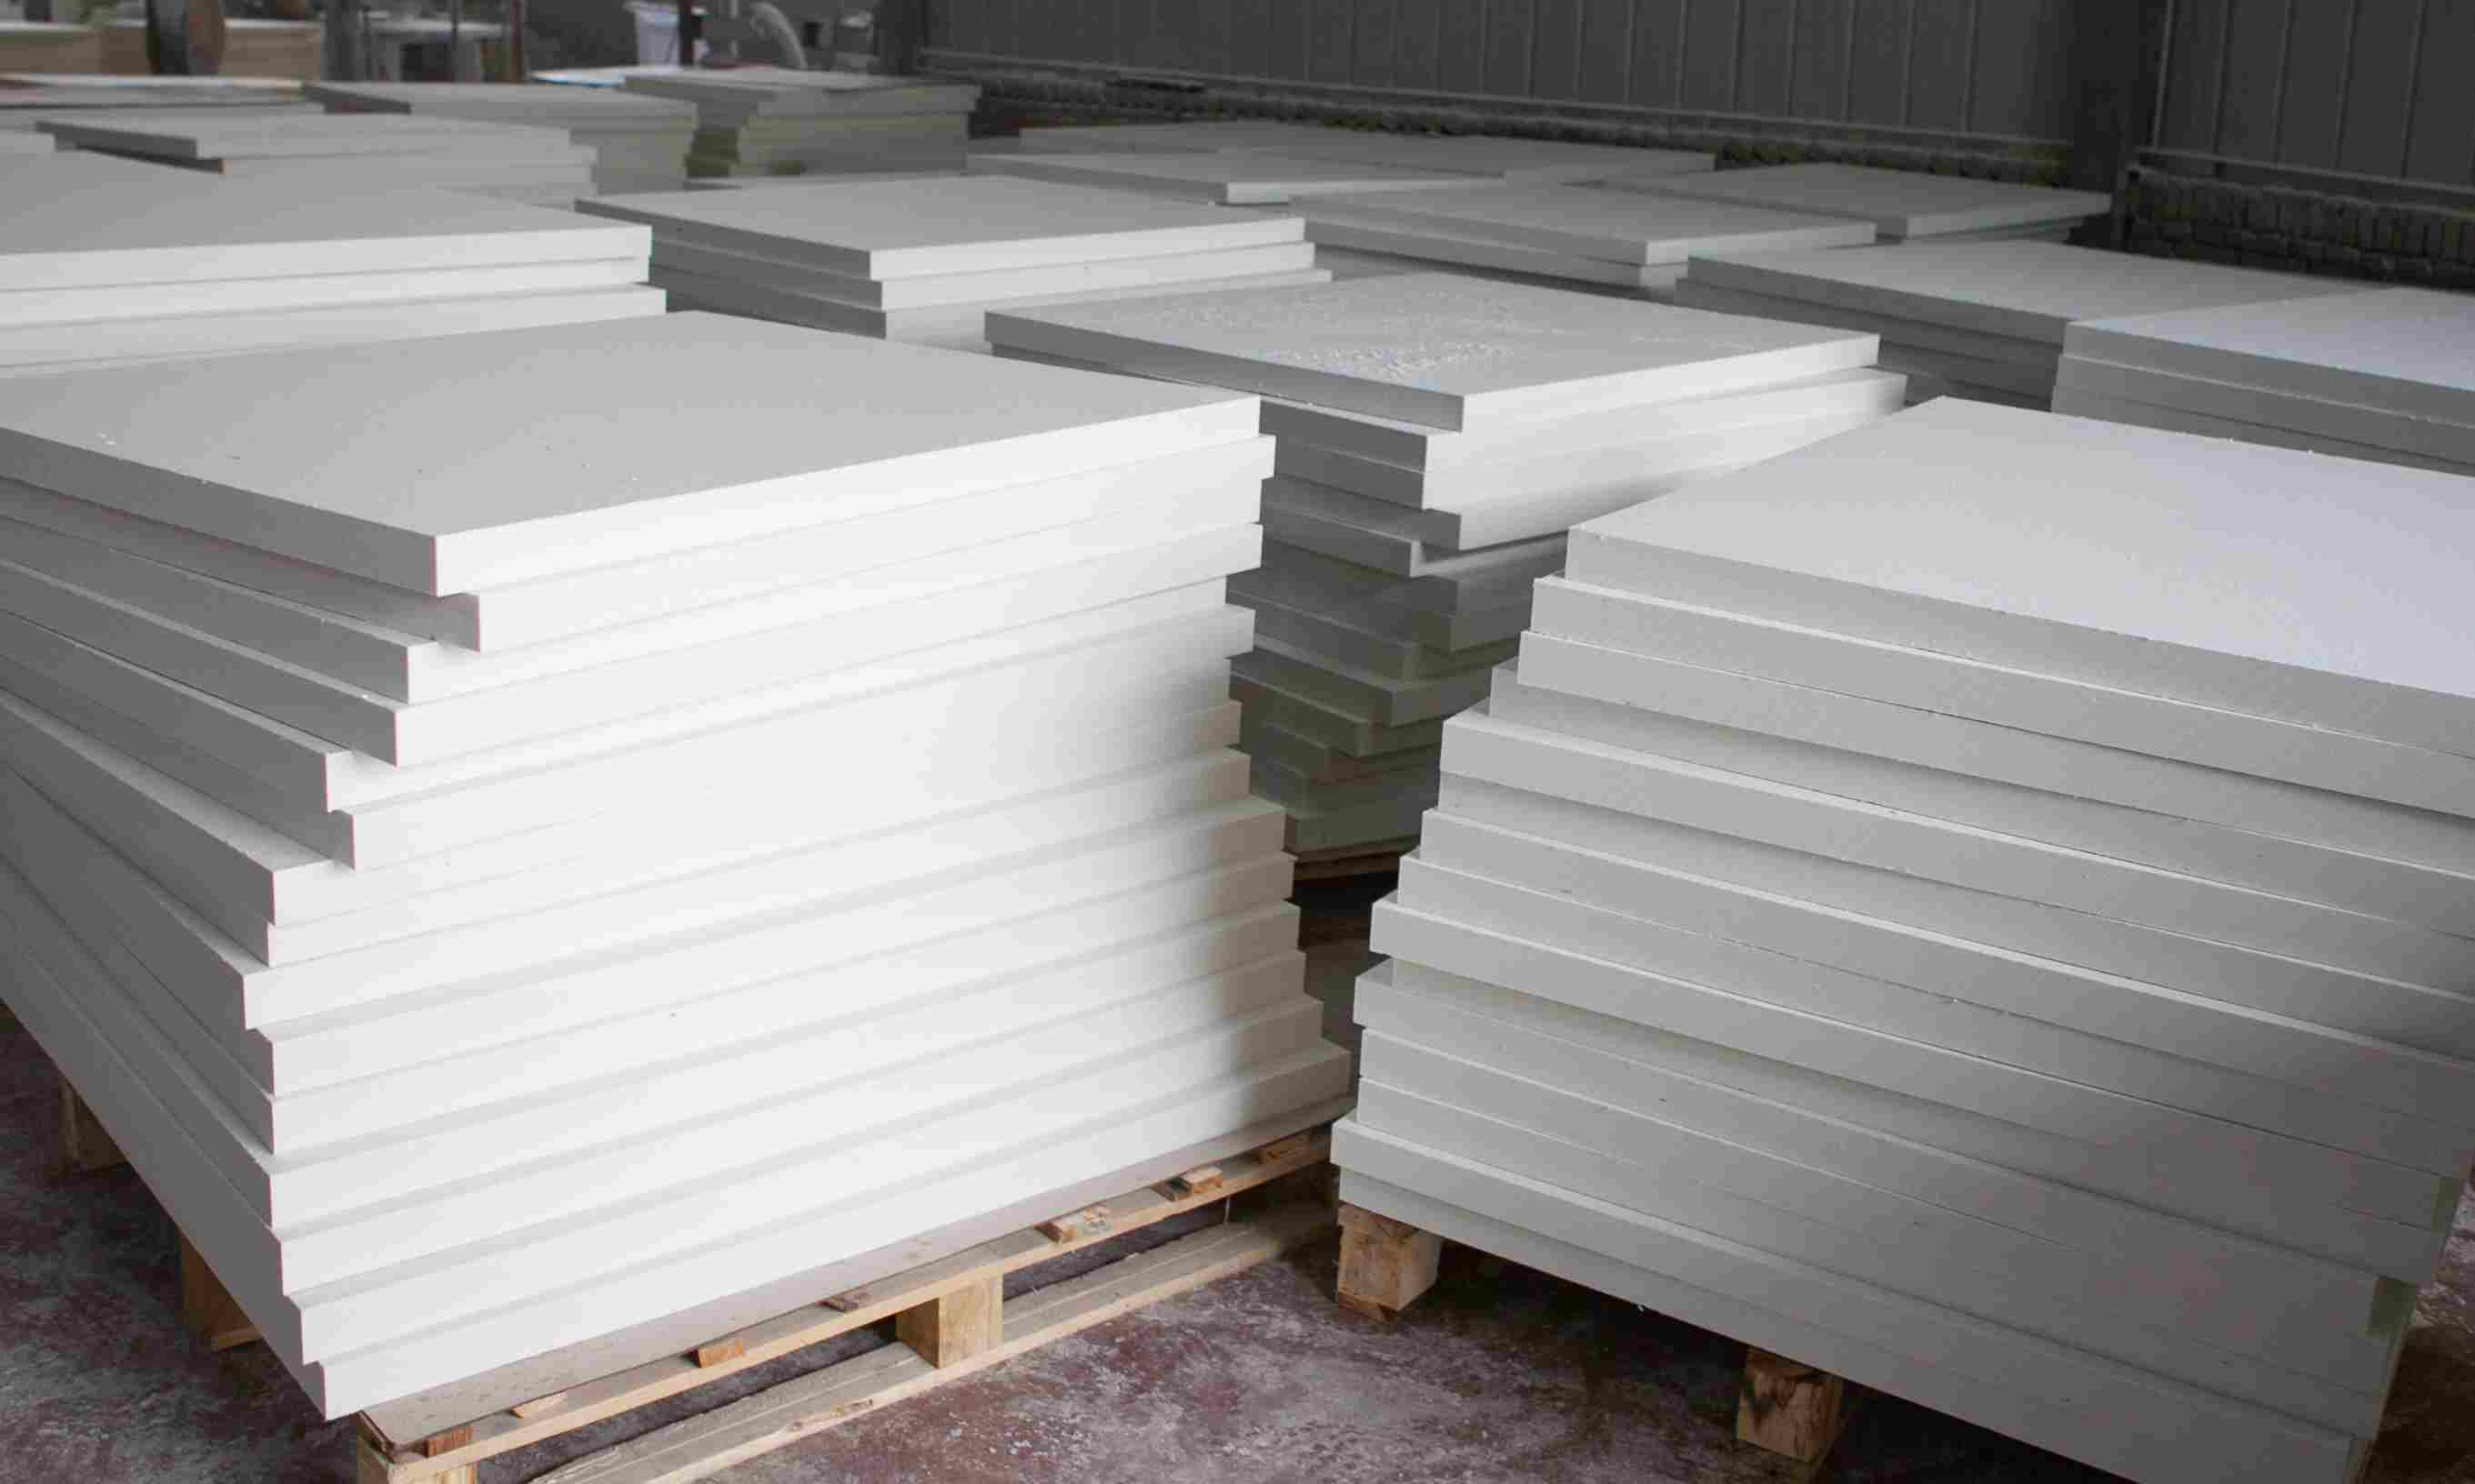
ceramic fiber boards of the appropriate size, thickness, and specification for your application. Additionally, gather fixing materials such as stainless - steel screws, anchors, or high - temperature - resistant adhesives, depending on the installation method you plan to use. For tools, you'll need a measuring tape, a utility knife or a cutting tool suitable for ceramic fiber materials, a drill (if using mechanical fasteners), and safety equipment like gloves, goggles, and a dust mask to protect yourself during the installation process.
2. Surface Inspection and Preparation
Thoroughly inspect the surface where the ceramic fiber board will be installed. The substrate should be clean, flat, and dry. Any dust, debris, moisture, or unevenness on the surface can lead to poor adhesion or create stress points that may cause the board to crack or malfunction over time. Use a vacuum cleaner or compressed air to remove dust and debris. If there are rough areas or protrusions on the surface, sand them down to achieve a smooth finish. In the case of metal substrates, it is advisable to apply an anti - corrosion coating to prevent rust from affecting the installation and the performance of the ceramic fiber board in the long run.
Installation Process
1. Measuring and Cutting
Accurately measure the area where the ceramic fiber board needs to be installed. Use a measuring tape to determine the length and width, and mark the dimensions on the board. When cutting the ceramic fiber board, use a sharp utility knife or a specialized cutting tool designed for such materials. Score the board along the marked lines and then carefully break it along the scored lines. Be cautious during the cutting process to ensure straight and precise cuts, as irregular edges can make the installation more difficult and may affect the overall performance of the insulation.
2. Fixing Methods
Mechanical Fastening
One common installation method is using mechanical fasteners. For this approach, drill holes in the ceramic fiber board and the substrate at the appropriate positions. The number and spacing of the holes will depend on the size and weight of the board as well as the application requirements. Insert stainless - steel screws or anchors through the holes in the board and into the substrate. When tightening the fasteners, apply a consistent and moderate force. Over - tightening can cause the ceramic fiber board to crack, while under - tightening may result in an insecure installation. Ensure that the board is firmly attached to the substrate without any gaps or looseness.
Adhesive Bonding
In some cases, adhesive bonding can be an effective alternative. Select a high - temperature - resistant adhesive that is compatible with ceramic fiber materials. Apply the adhesive evenly on the back of the ceramic fiber board, following the manufacturer's instructions regarding the application amount and method. Carefully position the board on the prepared substrate and press it firmly to ensure good adhesion. Hold the board in place for the recommended time to allow the adhesive to set properly. Keep in mind that the bonding strength may vary depending on the type of adhesive and the surface conditions, so it's crucial to choose the right adhesive and ensure proper surface preparation.
3. Incorporating Expansion Joints
Since
ceramic fiber boards expand and contract with temperature changes, it is essential to incorporate expansion joints during the installation. Calculate the appropriate size and spacing of the expansion joints based on the expected temperature range and the dimensions of the installation area. As a general rule, leave a gap of 1 - 2 mm per meter of board length. These gaps can be filled with a flexible ceramic fiber rope or blanket, which not only allows for the thermal expansion and contraction of the boards but also maintains the insulation integrity of the overall installation.
Post - installation Inspection
After completing the installation of the ceramic fiber boards, conduct a thorough inspection. Check for any gaps between the boards and the substrate, as well as between adjacent boards. Gaps can compromise the insulation performance and may also allow heat to escape or cold air to penetrate. Ensure that all the fasteners are tightened securely or that the adhesive - bonded boards are firmly attached. Inspect the surface of the boards for any signs of damage, such as cracks or scratches, which may have occurred during the installation process. If any issues are detected, address them immediately to ensure the proper functioning and longevity of the ceramic fiber board installation.
In conclusion, installing ceramic fiber boards requires careful preparation, precise installation techniques, and thorough post - installation inspection. By following these steps, you can ensure a successful installation that maximizes the performance and lifespan of the ceramic fiber boards, providing reliable insulation and protection in high - temperature applications.