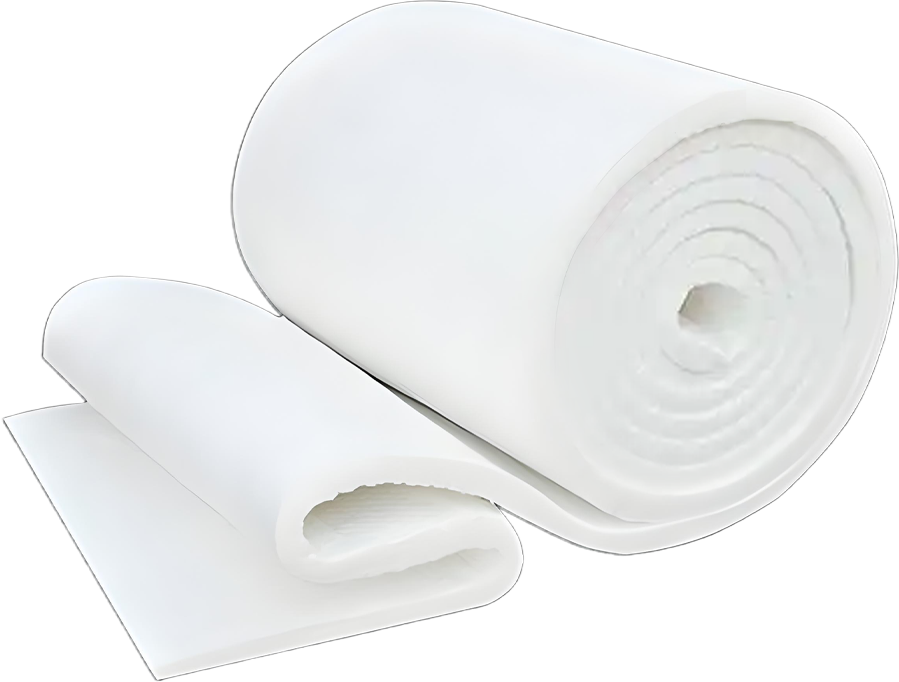
Ceramic fiber insulation blankets are renowned for their high-temperature resistance and thermal efficiency, but precise cutting is crucial to maximize their performance in industrial, construction, and commercial applications. This comprehensive guide outlines step-by-step methods, essential tools, and safety precautions to ensure clean, accurate cuts while preserving the material’s integrity.
1. Essential Tools for Cutting Ceramic Fiber Blankets
Selecting the right tools is vital to avoid fraying, uneven edges, or material damage:
- Utility Knife with Replaceable BladesIdeal for thin blankets (≤25mm thickness). Use sharp, high-carbon steel blades to ensure clean cuts without tearing the fibrous structure.
- Electric Jigsaw with Fine-tooth BladeSuited for thicker blankets (25mm+). Opt for blades labeled “for fibrous materials” to minimize fiber displacement.
- Ceramic Fiber ScissorsSpecialized scissors with serrated edges grip the material tightly, reducing slippage during cutting.
- Straight Edge or Cutting GuideMaintain straight lines by clamping a metal or wooden guide to the blanket, especially for large-scale projects.
- Dust Mask & Safety GogglesCritical for preventing inhalation of fine fibers and eye irritation (detailed in Section 4).
2. Pre-Cutting Preparations
Follow these steps to ensure precision and safety:
a. Measure & Mark Accurately
- Use a tape measure to mark dimensions with a non-permanent marker. For curved cuts, trace templates onto the blanket with carbon paper or chalk.
b. Secure the Blanket
- Lay the blanket on a flat, stable surface (e.g., plywood or workbench). Clamp the material at edges to prevent shifting during cutting.
c. Check Tool Condition
- Ensure blades are sharp and free of debris. Dull tools increase fiber fraying and reduce cut precision.
3. Step-by-Step Cutting Methods
Method 1: Hand Cutting for Thin Blankets
- Align the GuidePlace a straight edge along the marked line, ensuring it extends beyond the blanket’s edges.
- Apply Even PressureHold the utility knife at a 45° angle and make slow, steady strokes. Avoid sawing motions, which cause fraying.
- Multiple Passes for ThicknessFor blankets over 10mm, make 2-3 shallow passes instead of forcing the blade through in one go.
Method 2: Electric Jigsaw for Thick Blankets
- Set Blade DepthAdjust the jigsaw blade to penetrate 1-2mm deeper than the blanket’s thickness to avoid surface damage.
- Start with a Pilot HoleFor internal cuts, drill a small pilot hole at the corner of the marked shape before inserting the jigsaw blade.
- Maintain Steady SpeedMove the jigsaw slowly along the line, letting the blade do the work to prevent overheating or uneven cuts.
Method 3: Curved & Complex Cuts
- Templates & ScissorsUse cardboard templates for curves (e.g., pipe cutouts) and ceramic fiber scissors to follow the outline.
- Hot Wire Cutters (for Large Batches)Industrial hot wire tools melt fibers slightly, creating sealed edges. Ideal for uniform cuts in production settings.
4. Safety Protocols & Best Practices
a. Personal Protective Equipment (PPE)
- Respiratory Protection: Wear a N95 or higher-rated dust mask to prevent inhalation of silica fibers.
- Eye Protection: Impact-resistant goggles shield eyes from fiber debris.
- Gloves & Clothing: Use long-sleeved shirts and latex gloves to avoid skin irritation.
b. Workspace Safety
- Ventilation: Work in a well-ventilated area or use a dust extractor to minimize fiber accumulation.
- Cleanup: After cutting, vacuum the workspace with a HEPA-filtered vacuum to remove loose fibers.
c. Material Handling
- Avoid folding the blanket along cut lines, as this weakens its thermal resistance.
- Store cut pieces in airtight bags to prevent moisture absorption and fiber shedding.
5. Troubleshooting Common Issues
| Problem |
Solution |
| Frayed Edges |
Sharpen or replace blades; use a straight edge to guide cuts. |
| Uneven Cuts |
Clamp the material tighter; slow down cutting speed for better control. |
| Excessive Dust |
Increase ventilation; wet the cutting line slightly (for non-water-sensitive applications). |
6. Post-Cutting Finishing Tips
- Seal Edges with AdhesiveApply a ceramic fiber-specific sealant to cut edges to prevent fiber loss and enhance durability.
- Check for ImperfectionsInspect cuts for gaps or rough edges, using sandpaper (120-220 grit) to smooth minor imperfections.
Conclusion
Mastering the art of cutting
ceramic fiber insulation blankets ensures optimal performance in applications ranging from industrial furnaces to building insulation. By using the right tools, following safety protocols, and implementing precise techniques, you can maximize the material’s thermal efficiency and longevity. For large projects, consider investing in specialized equipment like hot wire cutters to streamline the process while maintaining quality.