Installing rock wool insulation board is an effective way to improve energy efficiency, reduce noise, and enhance fire safety in residential or commercial buildings. Unlike traditional insulation materials, rock wool offers superior thermal and acoustic performance while being non-combustible and eco-friendly. Below is a detailed, SEO-optimized guide to help you install rock wool insulation boards correctly.
1. Introduction: Why Choose rock Wool Insulation?
Before diving into the installation process, let’s highlight the key benefits of rock wool insulation:
- Thermal Efficiency: Retains heat in winter and keeps spaces cool in summer.
- Soundproofing: Absorbs airborne noise, reducing echoes and external disturbances.
- Moisture Resistance: Does not promote mold growth or rot, even in humid environments.
- Sustainability: Made from recycled materials and fully recyclable.
2. Tools and Materials You’ll Need
To ensure a smooth installation, gather the following items:
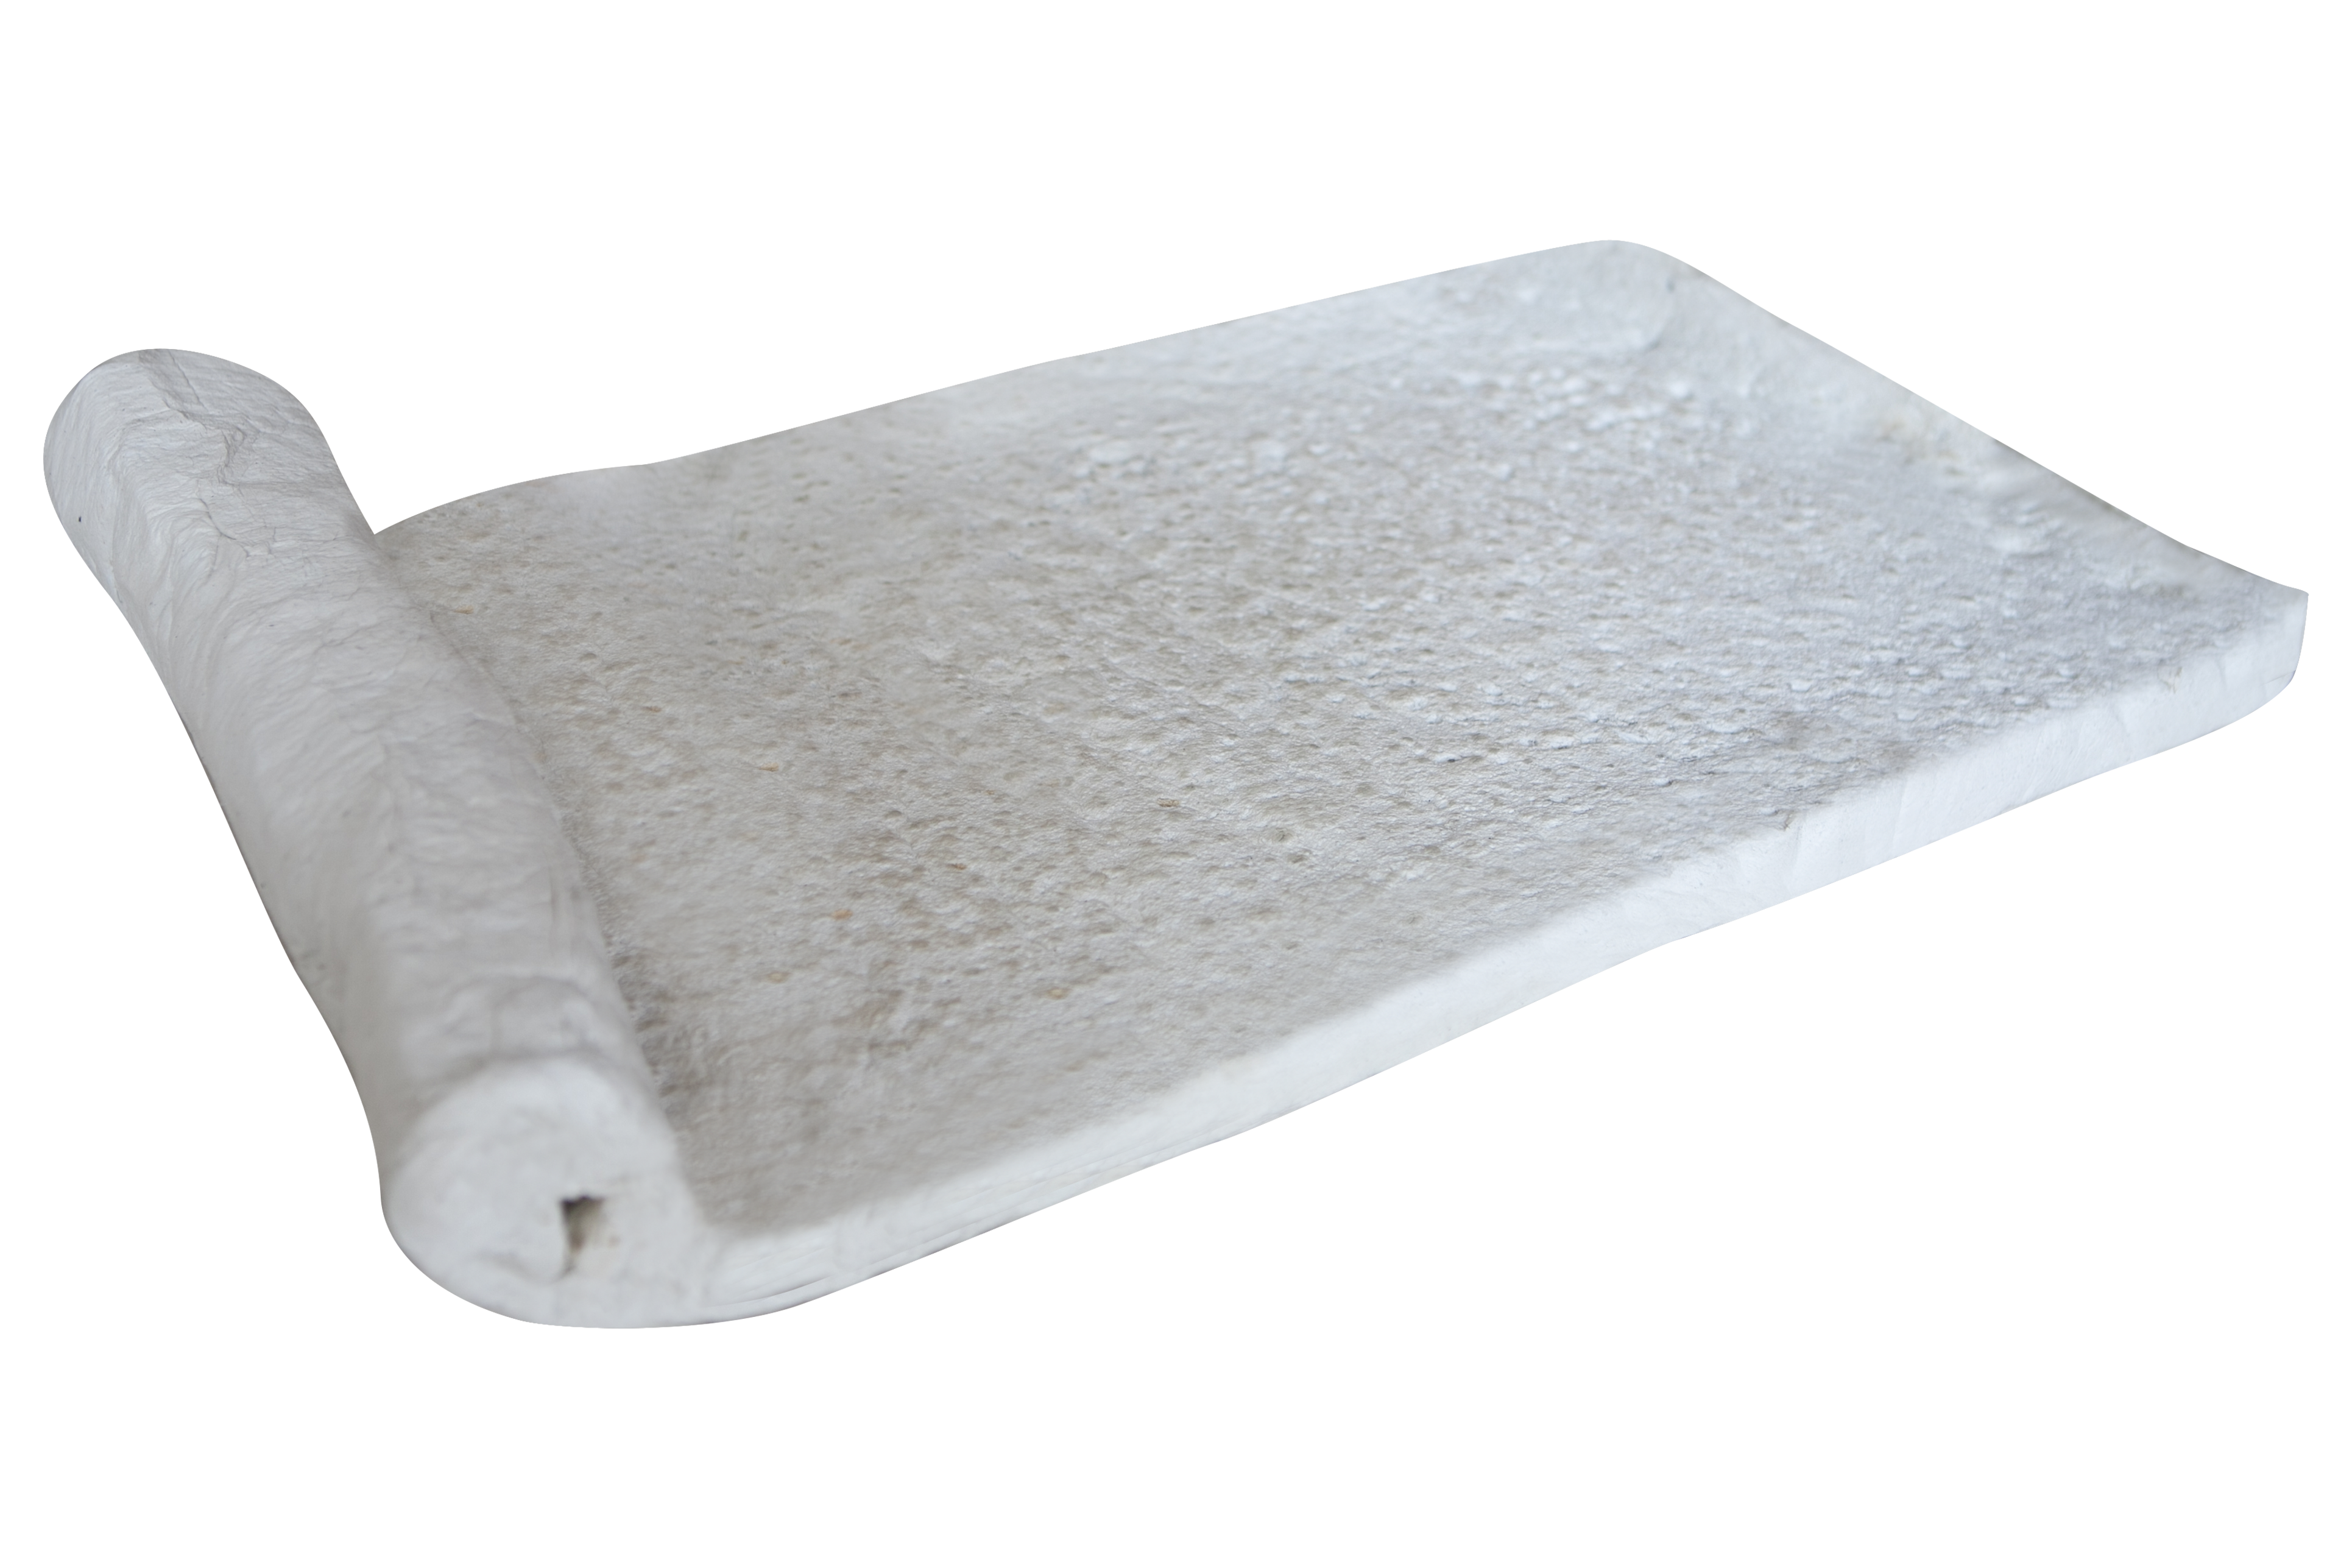
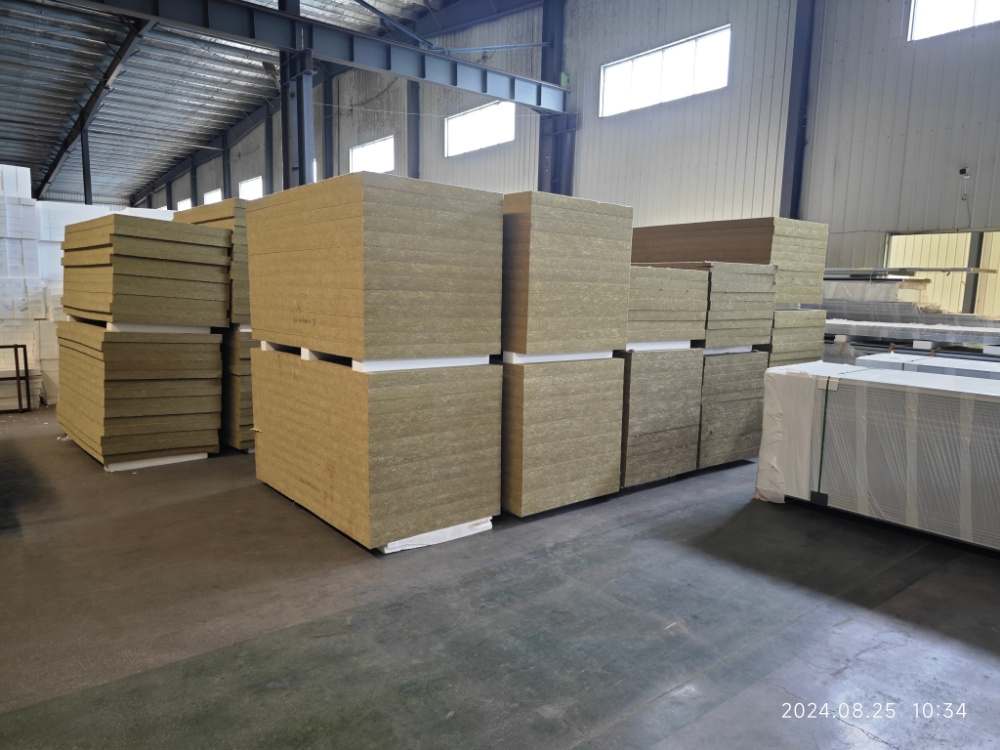
- rock wool insulation boards (choose the right thickness and R-value for your climate).
- Utility knife or electric saw (for cutting boards to size).
- Measuring tape and straightedge (for precise measurements).
- Adhesive (e.g., construction adhesive or rock wool-specific glue).
- Mechanical fasteners (screws, nails, or staples, depending on the surface).
- Safety gear: Gloves, goggles, dust mask, and long sleeves (rock wool fibers can irritate skin and lungs).
- Optional: Vapor barrier (if required for your climate zone).
3. Step-by-Step Installation Guide
Step 1: Prepare the Surface
- Clean the area: Remove debris, dust, or loose paint from walls, ceilings, or floors.
- Check for moisture: Ensure the surface is dry to prevent mold growth.
- Install a vapor barrier (if needed): Staple or tape a polyethylene sheet over the surface to block moisture.
Step 2: Measure and Cut the Boards
- Measure dimensions: Use a tape measure to determine the size of each insulation panel.
- Cut to fit:
- For straight cuts, score the board with a utility knife and snap it.
- For irregular shapes (e.g., around pipes or electrical boxes), use a jigsaw or handsaw.
- Label pieces: Mark each board to avoid confusion during installation.
Step 3: Apply Adhesive (Optional but Recommended)
- For walls/ceilings: Apply adhesive in a continuous bead along the edges and in the center of the board.
- For floors: Use a notched trowel to spread adhesive evenly.
- Press firmly: Place the board onto the surface and hold for 10–15 seconds to ensure adhesion.
Step 4: Secure with Fasteners
- Walls/ceilings: Use corrosion-resistant screws or nails spaced 12–16 inches apart.
- Floors: Staple or nail the boards into subflooring (ensure no gaps remain).
- Avoid over-tightening: This can compress the insulation and reduce its R-value.
Step 5: Seal Joints and Gaps
- Fill gaps: Use expanding foam or acoustic sealant to close gaps between boards.
- Tape seams: Apply foil-backed tape over joints to prevent air leakage.
Step 6: Finish the Installation
- Cover with drywall/plasterboard (for walls/ceilings): Secure with screws and tape joints for a smooth finish.
- Install flooring (for floors): Lay plywood, laminate, or tiles over the insulation.
4. Safety Precautions
- Wear protective gear: rock wool fibers can irritate skin and lungs.
- Work in a ventilated area: Open windows or use fans to minimize dust.
- Avoid inhalation: If fibers become airborne, wear a respirator rated for particulates.
5. Troubleshooting Common Issues
- Gaps between boards: Fill with foam or sealant to maintain thermal efficiency.
- Sagging insulation: Use additional fasteners or support brackets.
- Mold growth: Ensure proper ventilation and avoid trapping moisture.
6. Conclusion: Why DIY or Hire a Pro?
Installing rock wool insulation boards is manageable for experienced DIYers, but hiring a professional ensures:
- Compliance with local building codes.
- Proper sealing and fire-rating adherence.
- Warranty protection for materials and labor.
7. FAQs
Q1: Can rock wool insulation be used in basements?
A: Yes, rock wool is moisture-resistant and ideal for basements. Pair with a vapor barrier for optimal performance.
Q2: How long does rock wool insulation last?
A: 50+ years with proper installation and no water damage.
Q3: Is rock wool eco-friendly?
A: Absolutely! It’s made from recycled slag and basalt rock, and it’s fully recyclable.
Q4: Can I paint over rock wool boards?
A: No—always cover them with drywall, plasterboard, or flooring for protection and aesthetics.