Proper installation of rock wool insulation is crucial for maximizing its thermal insulation, fire resistance, and soundproofing benefits. Whether you're working on a residential building project or insulating industrial equipment, following the right installation procedures ensures optimal performance and longevity. Here's a comprehensive guide on how to install rock wool insulation correctly.
1. Preparation Before Installation
Gather the Necessary Tools and Materials
Before starting the installation, ensure you have all the required tools and materials on hand. This typically includes:
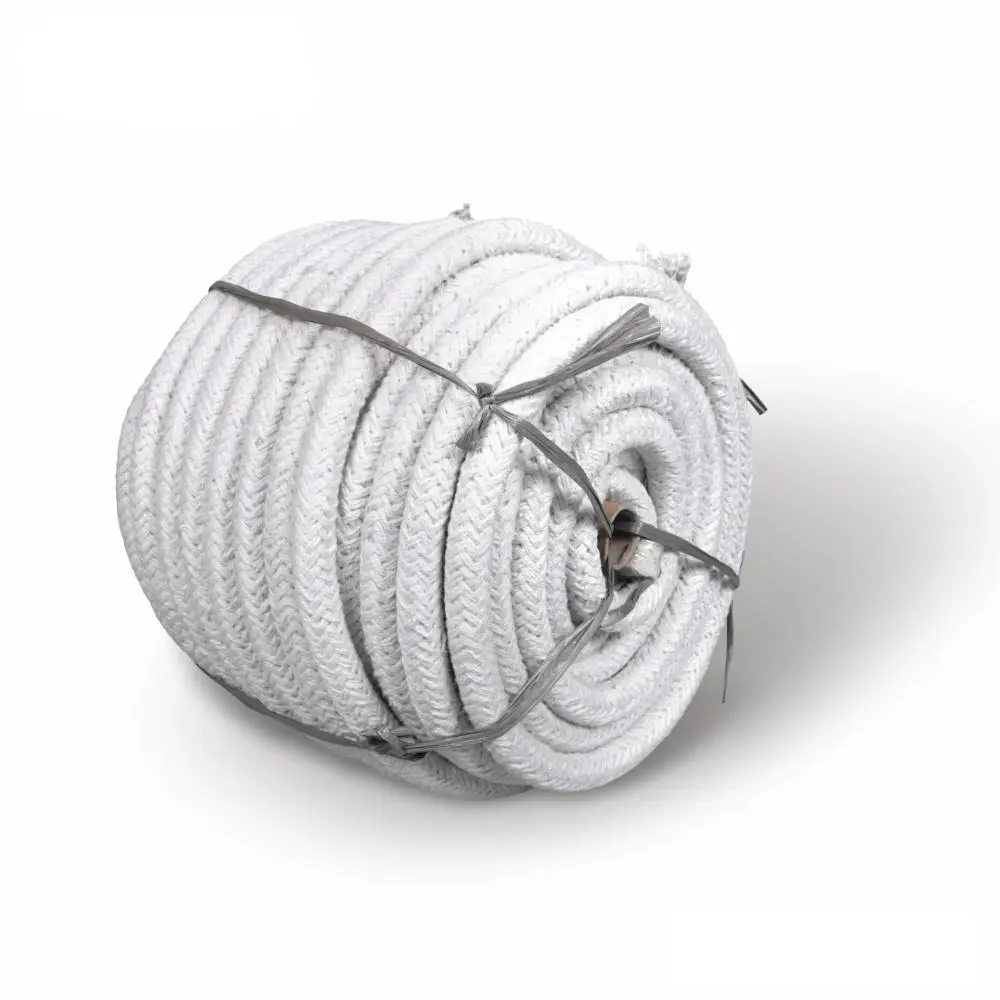
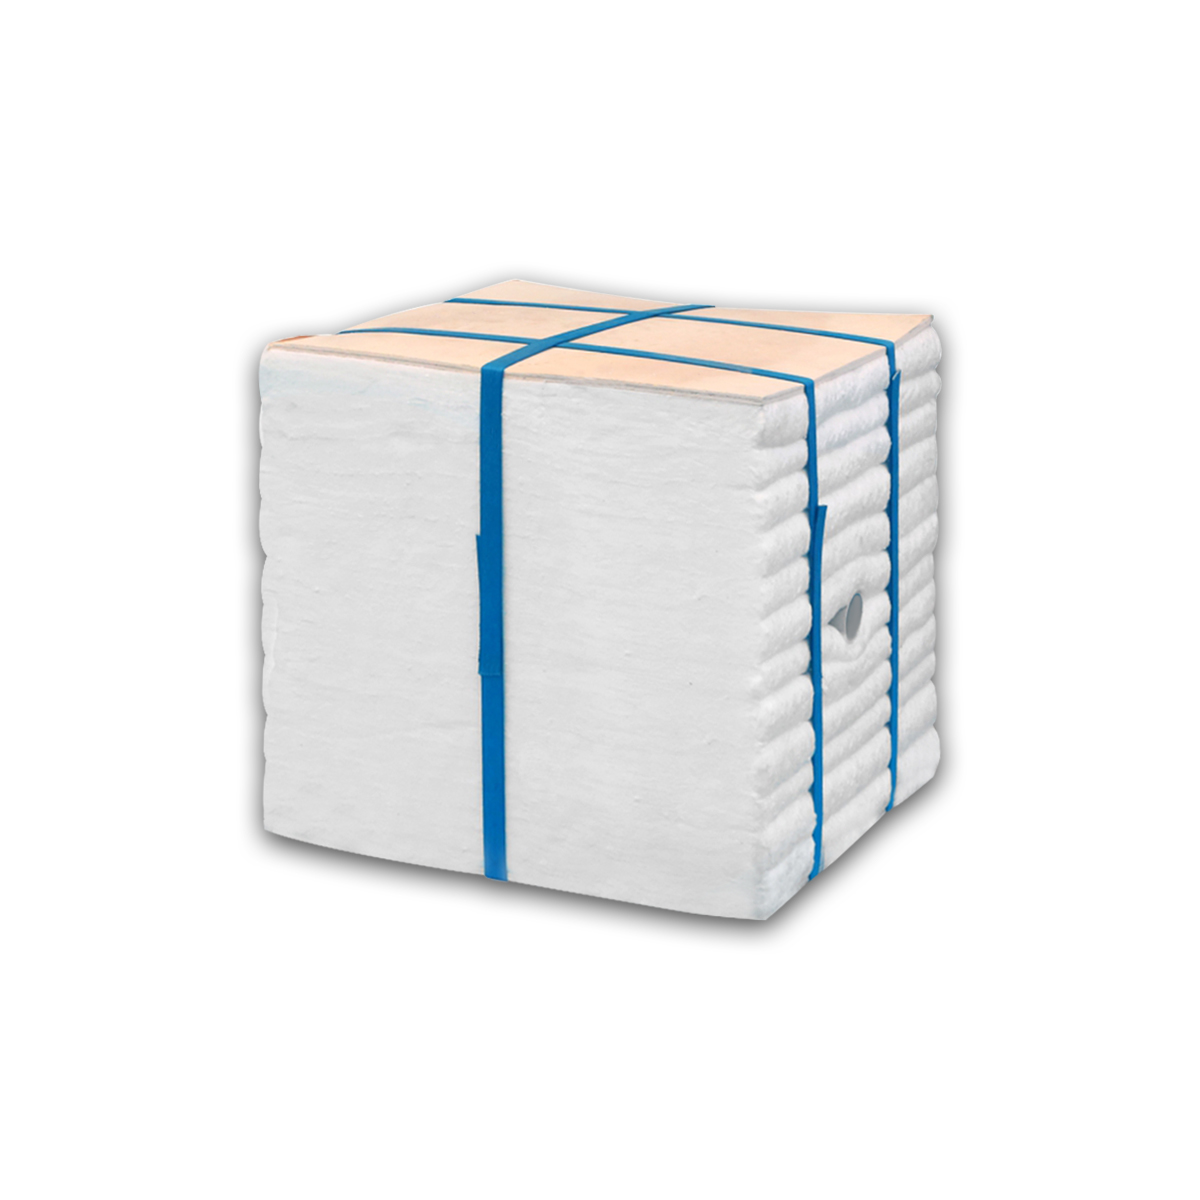
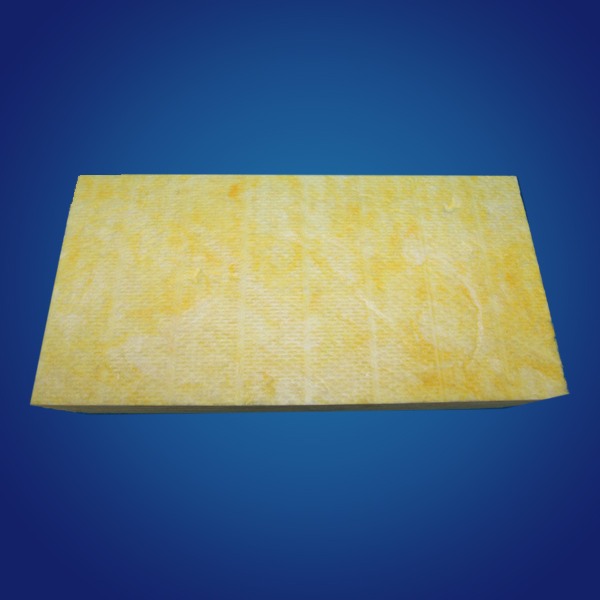
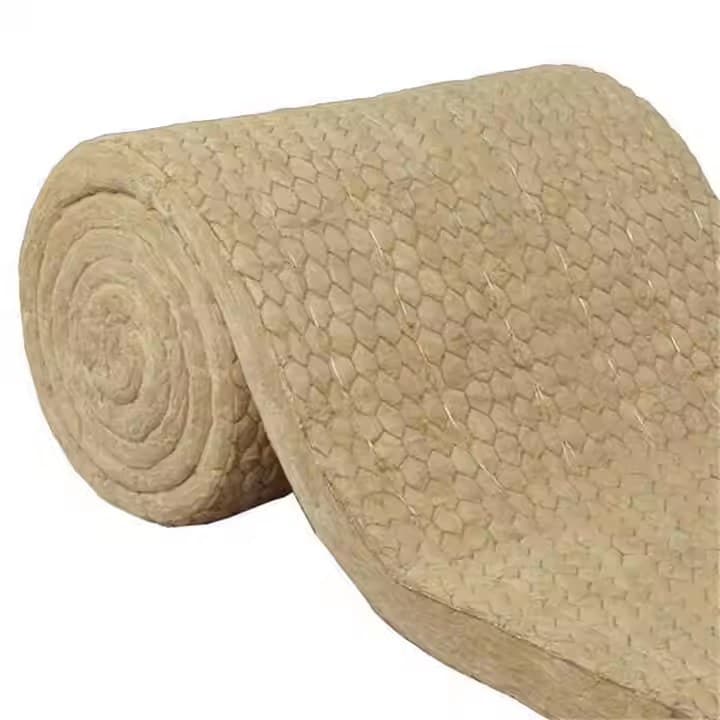
- rock wool insulation blankets or slabs, selected according to your project's specific requirements (e.g., thickness, density, and fire - resistance rating).
- Utility knife or insulation cutter for trimming the rock wool to the right size.
- Stapler or insulation fasteners to secure the insulation in place.
- Safety gear, such as gloves, safety goggles, and a dust mask, as rock wool fibers can be irritating to the skin, eyes, and respiratory system.
- Measuring tape for accurate sizing.
Inspect the Installation Area
Thoroughly inspect the area where the rock wool insulation will be installed. Clear any debris, dust, or obstructions that could interfere with the installation process. Check for signs of leaks, moisture, or structural damage, and address these issues before proceeding. In the case of building insulation, ensure that the framing, pipes, and electrical wiring are properly installed and in good condition.
2. Installation Steps
For Wall Insulation
- Measure and Cut: Measure the height and width of the wall cavities between the studs. Use a measuring tape and mark the dimensions on the rock wool insulation. Then, carefully cut the insulation to fit snugly into the cavities using a utility knife. Make sure the insulation is slightly oversized to ensure a tight fit, as this helps prevent air leakage.
- Insert the Insulation: Gently push the cut rock wool insulation into the wall cavities, starting from the bottom and working your way up. Ensure that the insulation fills the entire cavity without any gaps or voids. If using batts, align the edges with the studs and use staples or insulation fasteners to secure the insulation to the studs at regular intervals.
- Seal the Edges: Use insulation tape or caulk to seal any gaps or joints around the insulation, especially at the top and bottom of the wall cavities. This creates an airtight barrier, further enhancing the insulation's effectiveness.
For Roof Insulation
- Lay the Insulation: On flat roofs, lay the rock wool insulation slabs or blankets directly onto the roof deck, starting from one edge and working towards the other. Overlap the edges of the insulation by at least a few inches to prevent heat loss. For pitched roofs, install the insulation between the rafters, following the same measuring, cutting, and fitting process as for wall insulation.
- Secure the Insulation: Use insulation fasteners or wire mesh to hold the rock wool insulation in place, especially on sloped roofs where gravity could cause the insulation to shift. Make sure the fasteners are evenly spaced and penetrate the roof deck or rafters securely.
For Pipe Insulation
- Measure and Cut the Insulation: Measure the circumference and length of the pipes that need to be insulated. Cut the rock wool insulation sleeves or blankets to the appropriate size, ensuring a snug fit around the pipes.
- Wrap the Pipes: Wrap the cut insulation around the pipes, overlapping the edges to create a continuous thermal barrier. Secure the insulation in place using insulation tape or cable ties, taking care not to damage the insulation or the pipes. For pipes in high - vibration areas, additional support may be required to prevent the insulation from coming loose.
3. Safety Precautions and Tips
- Wear Protective Gear: Always wear gloves, safety goggles, and a dust mask during the installation process to protect yourself from rock wool fibers. After the installation, shower and change your clothes to remove any remaining fibers.
- Avoid Compressing the Insulation: Do not compress the rock wool insulation excessively during installation, as this can reduce its thermal performance. Ensure that the insulation maintains its original thickness and density.
- Seal All Gaps: Pay close attention to sealing any gaps, joints, or penetrations in the insulation, such as around electrical outlets, pipes, and vents. These areas are potential sources of air leakage and can significantly reduce the effectiveness of the insulation.
- Follow Local Building Codes: Familiarize yourself with and adhere to local building codes and regulations regarding insulation installation. This ensures that your installation meets safety and performance standards.
4. Post - Installation Checks
After completing the installation, conduct a final inspection to ensure that the rock wool insulation is properly installed. Check for any gaps, voids, or loose areas, and make any necessary adjustments. Additionally, test the insulation's performance, such as its thermal resistance or sound absorption, if possible, to confirm that it meets your project's requirements.
In conclusion, proper installation of rock wool insulation is a straightforward yet meticulous process. By following these steps, taking the necessary safety precautions, and paying attention to detail, you can ensure that your rock wool insulation provides maximum benefits in terms of energy efficiency, fire protection, and comfort for years to come. Whether it's for a new construction project or an insulation upgrade, a well - installed rock wool insulation system is an investment that pays off in the long run.