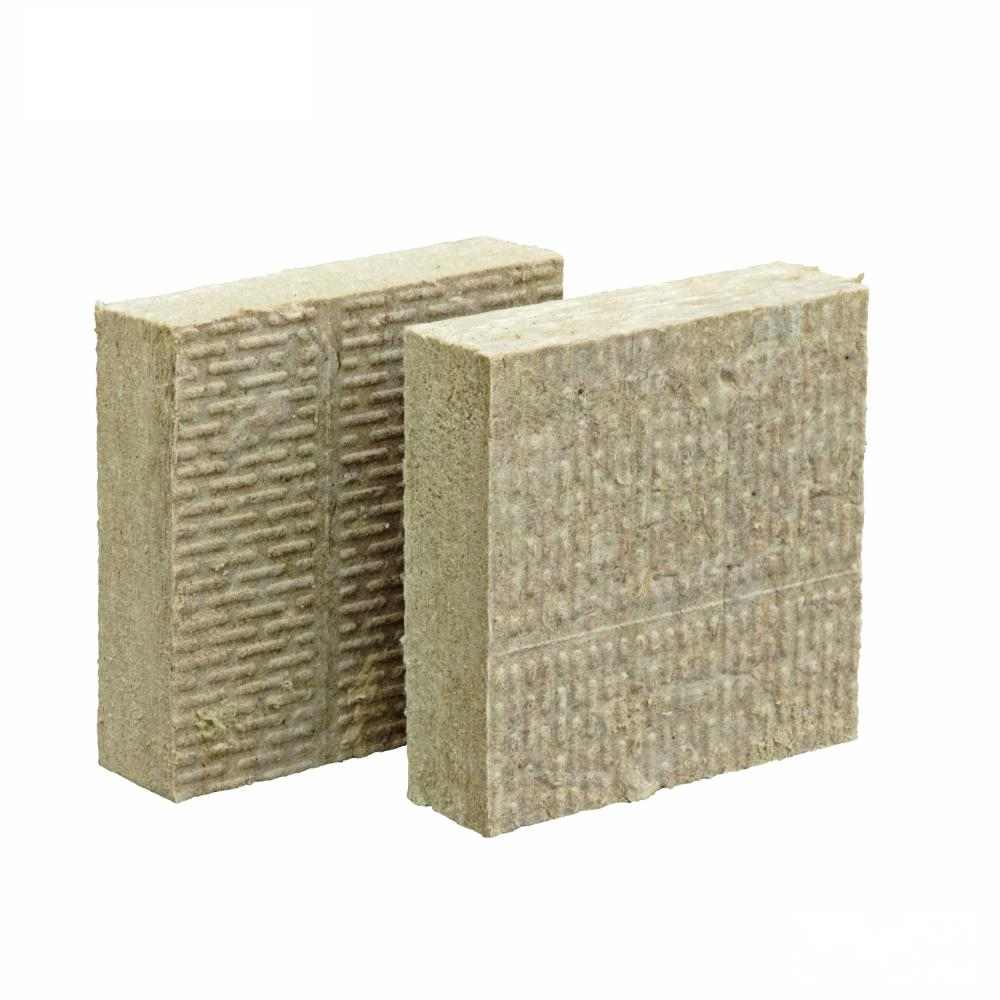
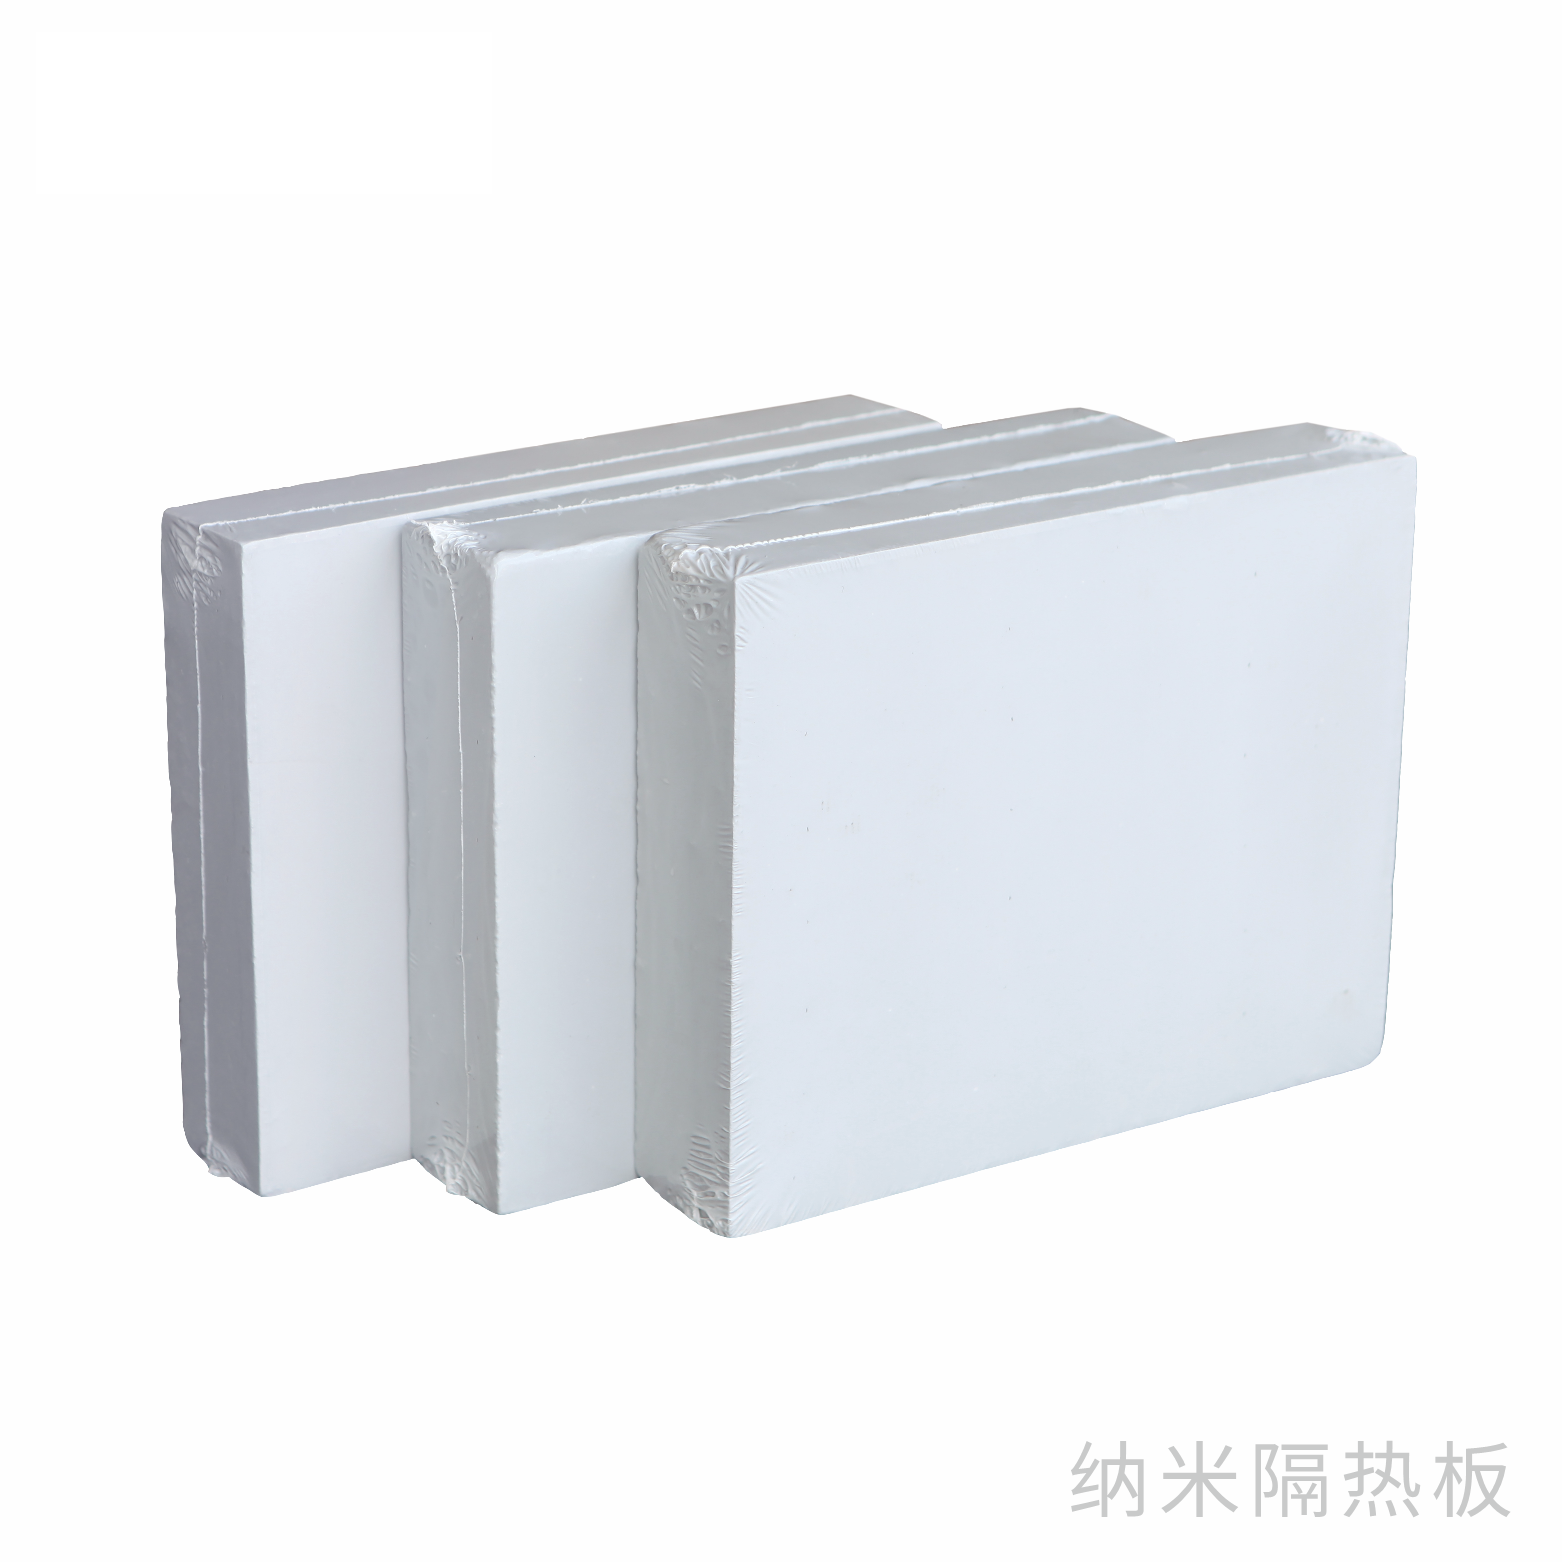
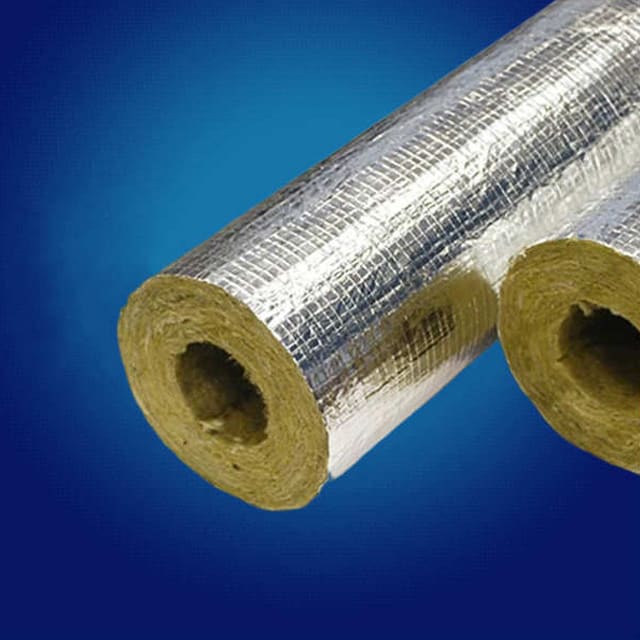
Calcium silicate board is a high-performance building material prized for its fire resistance, moisture durability, and eco-friendly composition. Whether you’re renovating a home, constructing commercial spaces, or tackling a DIY project, mastering its installation ensures long-lasting, low-maintenance results.
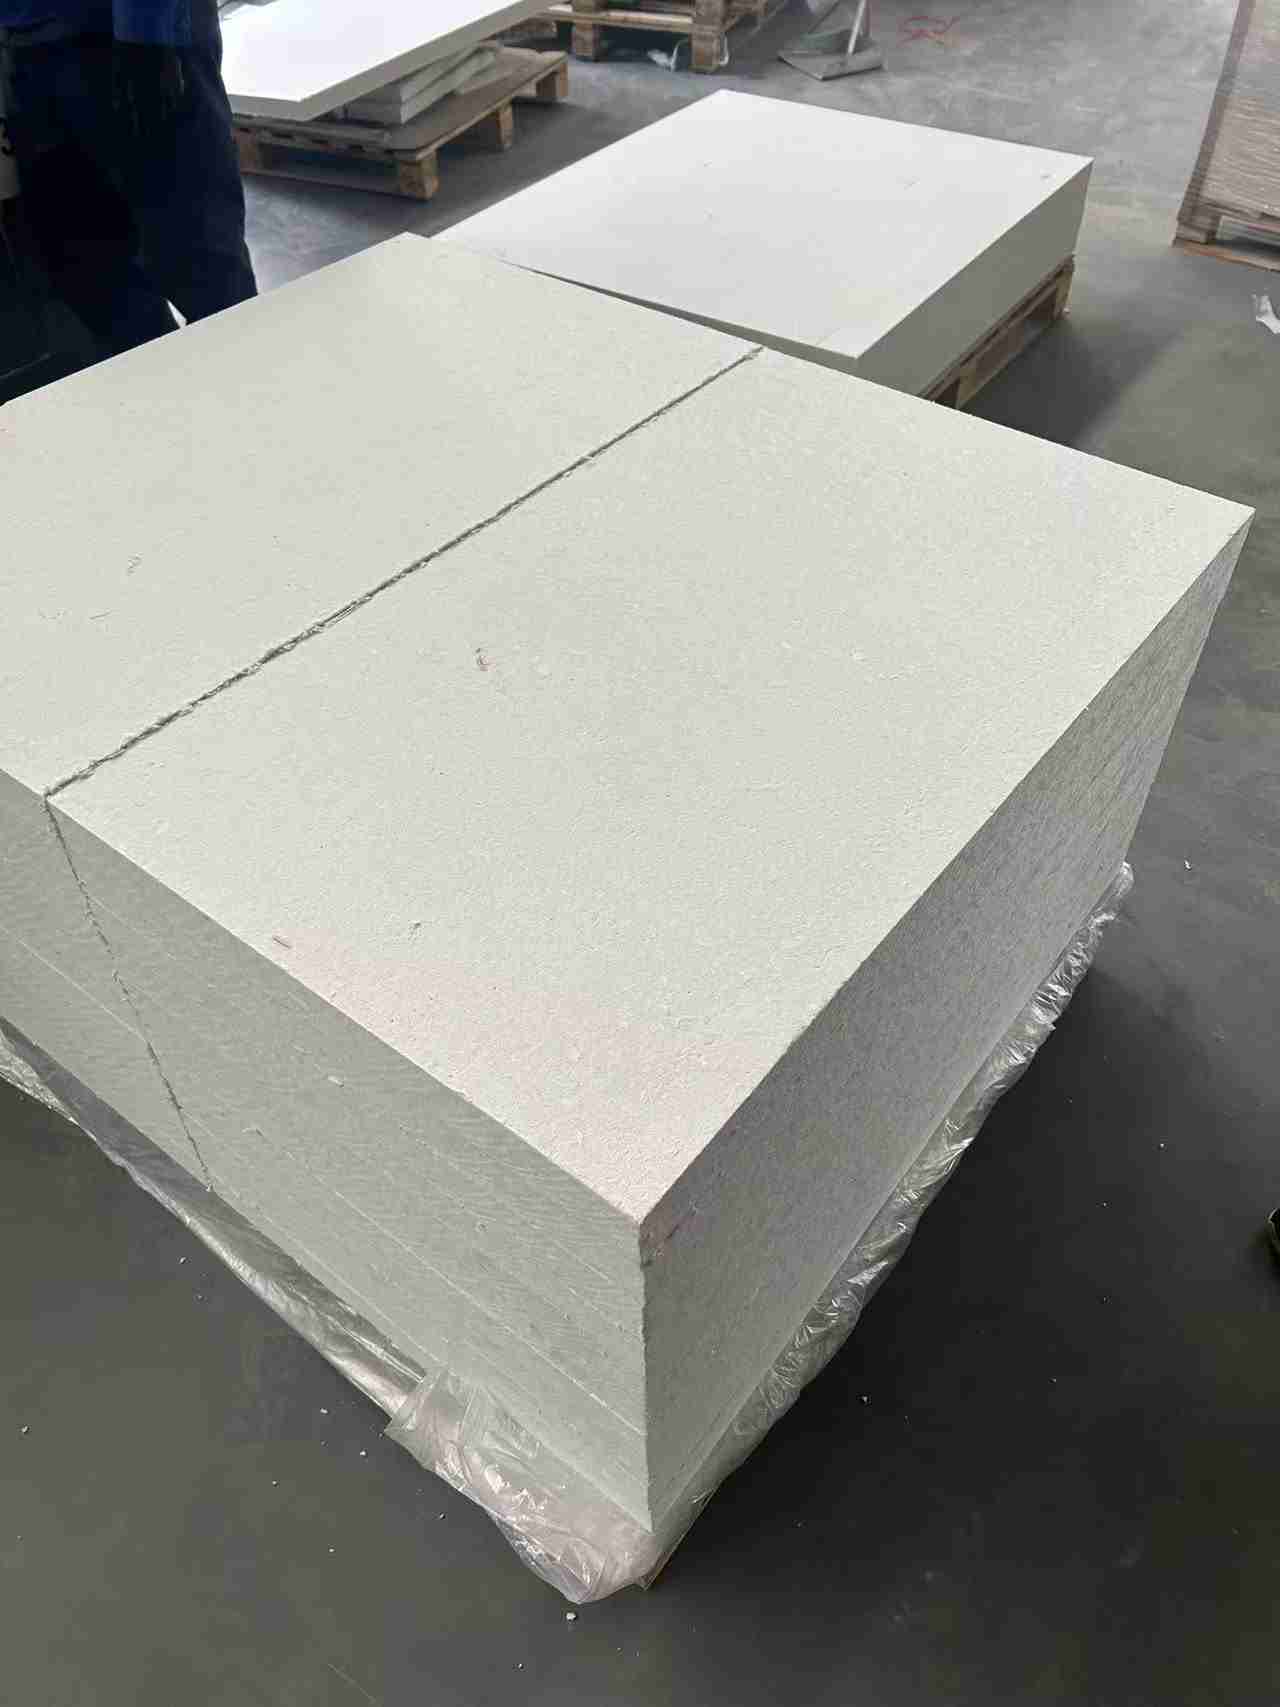
Tools & Materials You’ll Need
Gather these essentials before starting:
- Calcium silicate boards (cut to size if pre-ordered).
- Measuring tape, level, and chalk line for accuracy.
- Circular saw or jigsaw with a carbide-tipped blade (for cutting).
- Screws (galvanized or stainless steel, 2.5–3.5mm diameter).
- Drill with screwdriver bit and countersink tool.
- Adhesive (polymer-modified or acrylic-based).
- Jointing compound and fiberglass mesh tape (for seams).
- Safety gear: Gloves, goggles, and a dust mask.
Step-by-Step Installation Guide
1. Prepare the Surface
- Clean the substrate: Remove dust, grease, or loose debris from walls/ceilings.
- Check for level: Use a level to identify uneven areas. Apply a self-leveling compound if needed.
- Mark guidelines: Snap chalk lines to ensure boards are installed straight.
2. Cut Boards to Size
- Measure twice: Account for outlets, windows, or fixtures.
- Cut accurately: Use a straightedge guide with your saw to prevent chipping.
- Sand edges: Lightly sand cut edges for a smoother finish.
Pro Tip: For curved surfaces, score the board lightly with a utility knife before bending.
3. Apply Adhesive (Optional but Recommended)
- Spread adhesive in a zigzag pattern on the board’s back to improve adhesion to substrates like concrete or metal framing.
4. Fix the Boards
- Start from a corner: Align the first board with your chalk line.
- Drill pilot holes: Space screws 15–20cm apart along edges and 30cm apart in the field.
- Countersink screws: Ensure heads sit flush to avoid indentations.
- Stagger joints: Offset subsequent rows to enhance structural integrity.
Safety Alert: Over-tightening screws can crack the board—use a drill with torque control.
5. Seal Joints & Corners
- Apply jointing compound over seams, embedding fiberglass mesh tape.
- Smooth with a trowel and let dry completely before sanding.
- Seal corners with silicone caulk for moisture resistance.
6. Finish the Surface
- Prime the boards with a water-based sealer before painting or tiling.
- For textured finishes, use plaster or specialized coatings.
Maintenance Tips for Longevity
- Clean gently: Wipe with a damp cloth; avoid abrasive cleaners.
- Inspect regularly: Repair cracks promptly to prevent moisture ingress.
- Avoid overload: Don’t hang heavy objects without proper anchors.
Common Installation Mistakes to Avoid
- Skipping substrate prep: Leads to uneven finishes.
- Using wrong screws: Corroded screws rust over time.
- Rushing joint sealing: Poorly sealed seams allow mold growth.
FAQs
Q: Can calcium silicate board be used outdoors?
A: Yes, but seal edges and joints with weatherproof compounds.
Q: How thick should boards be for fire ratings?
A: 12mm+ thickness meets most fire code requirements.
Q: Is professional help necessary?
A: DIY-friendly for small projects, but large installations may require contractors.
Conclusion
Installing calcium silicate board is a straightforward process when done methodically. By prioritizing precision and using quality materials, you’ll create surfaces that resist fire, moisture, and wear for decades.


