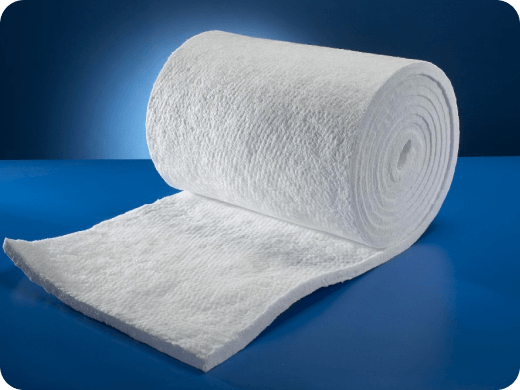
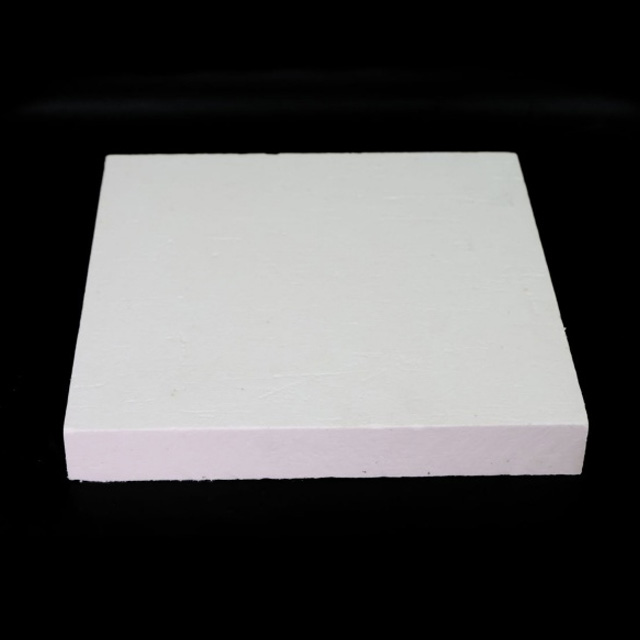
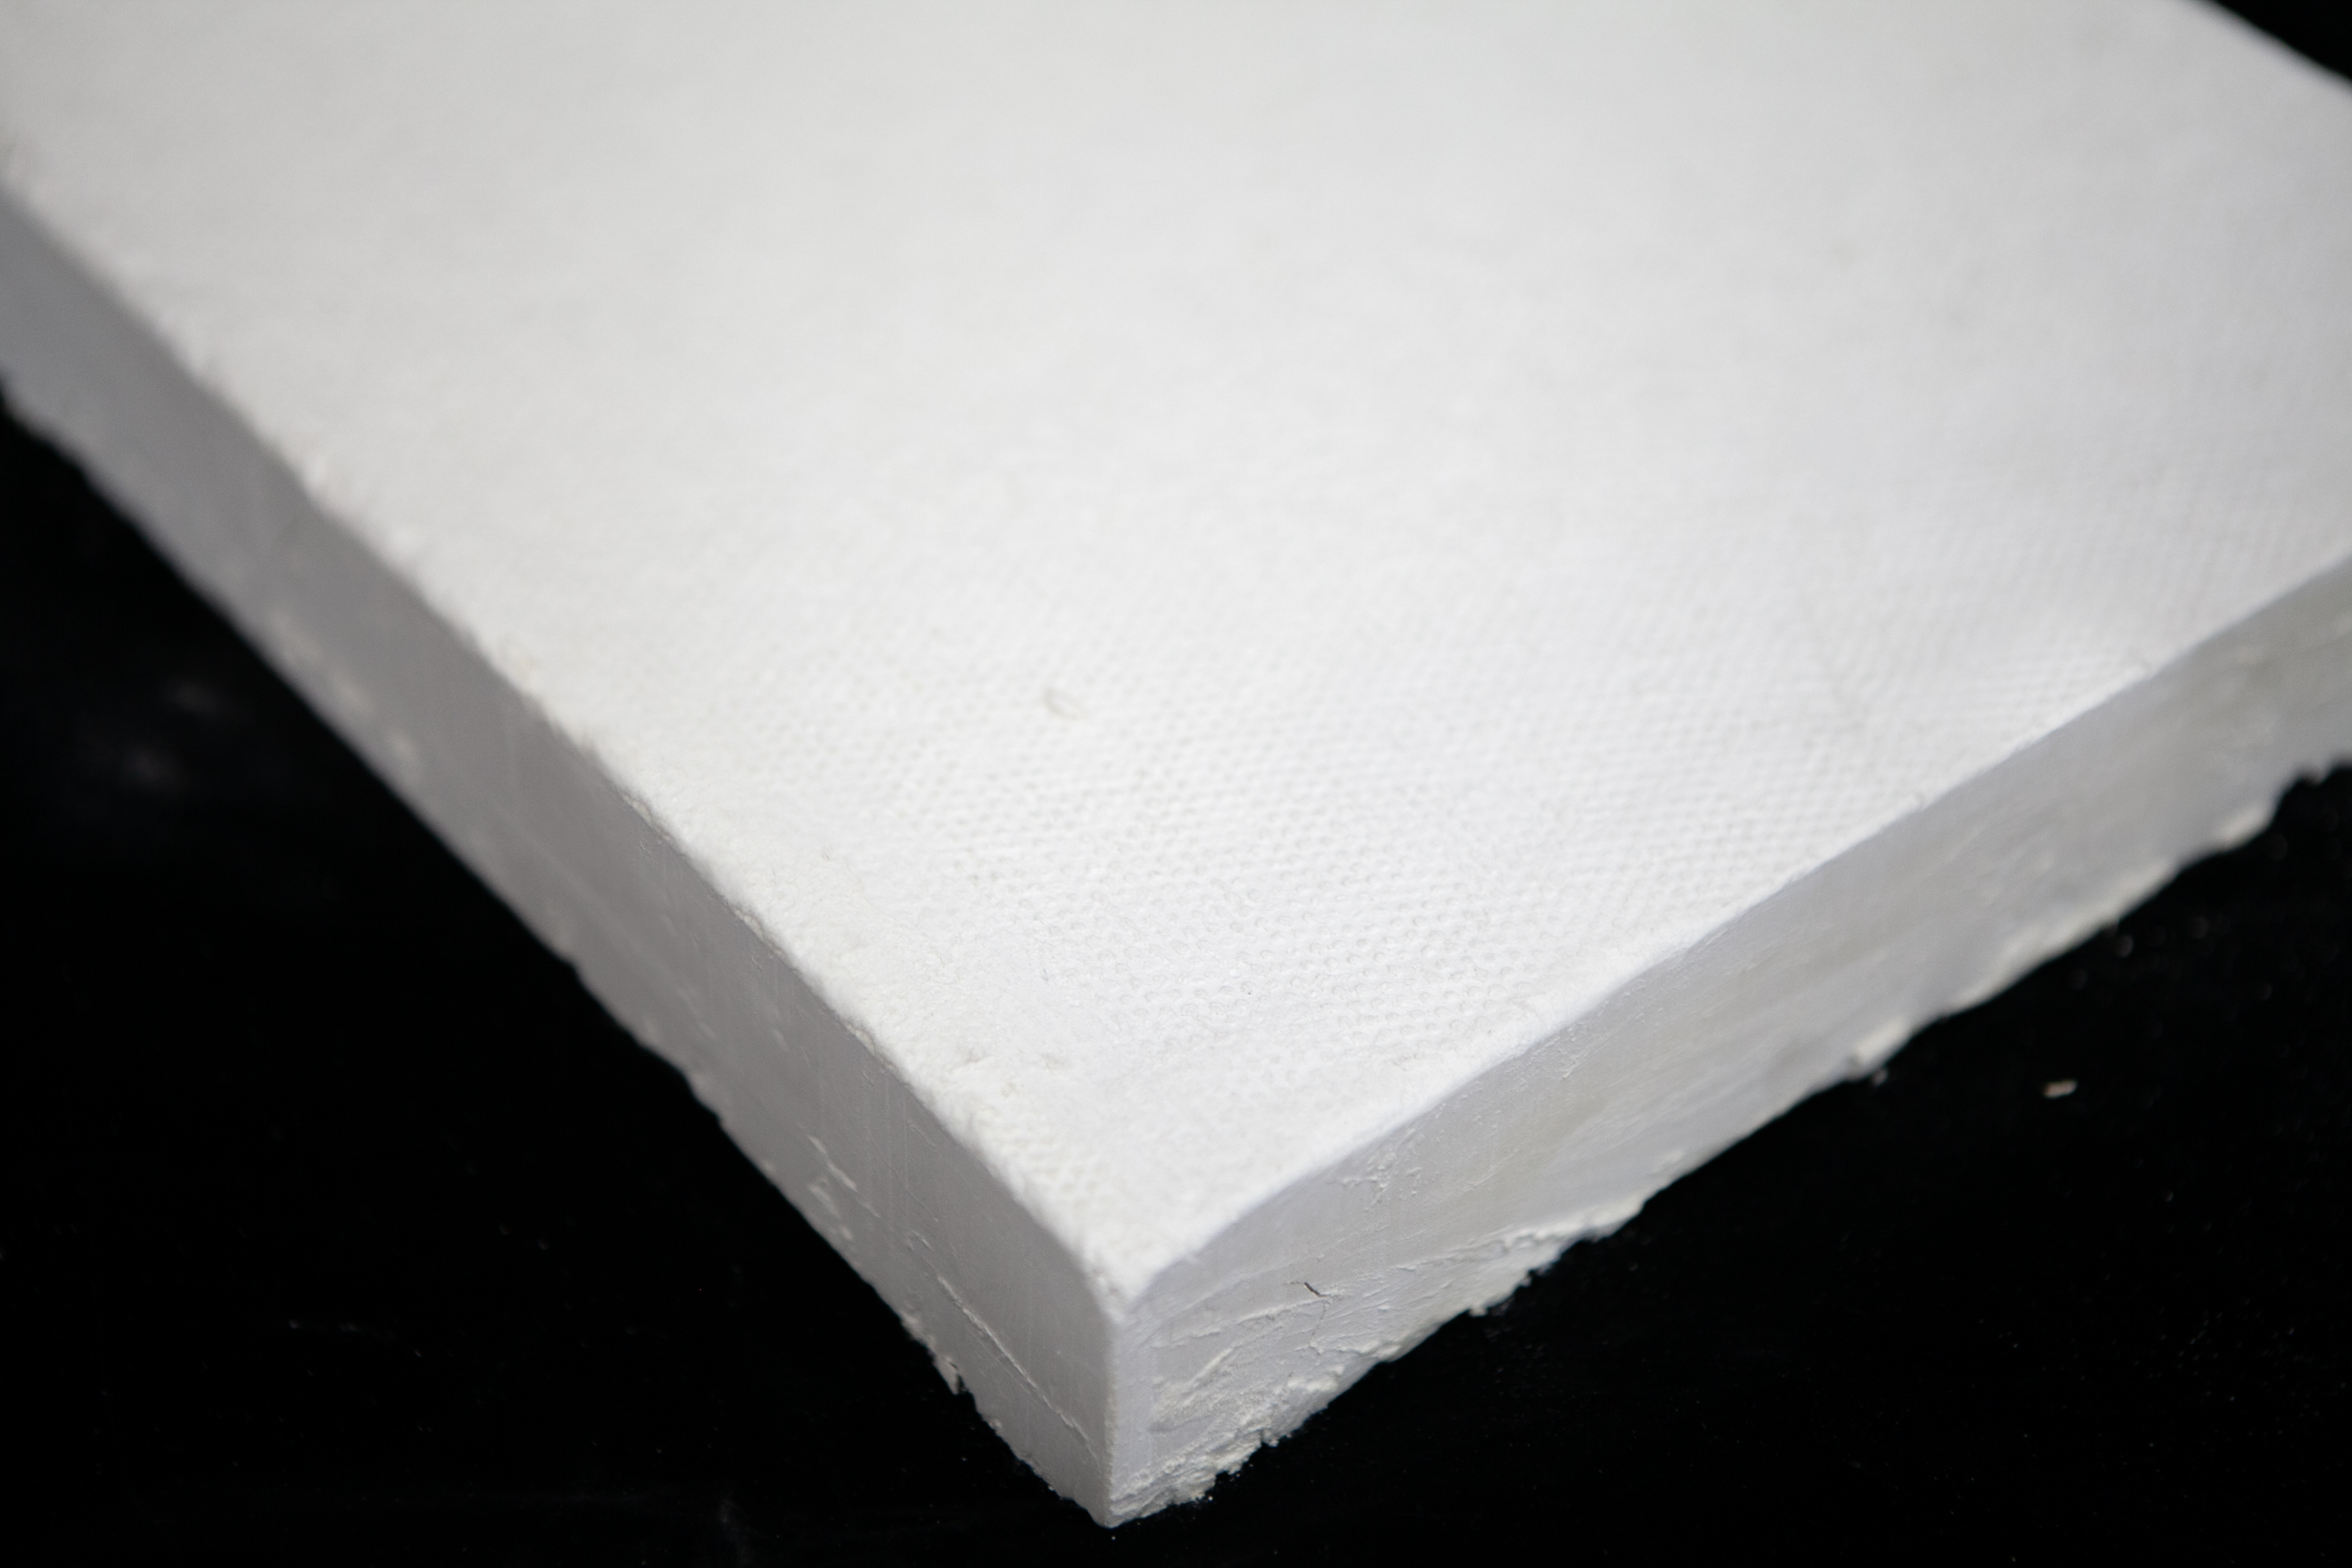
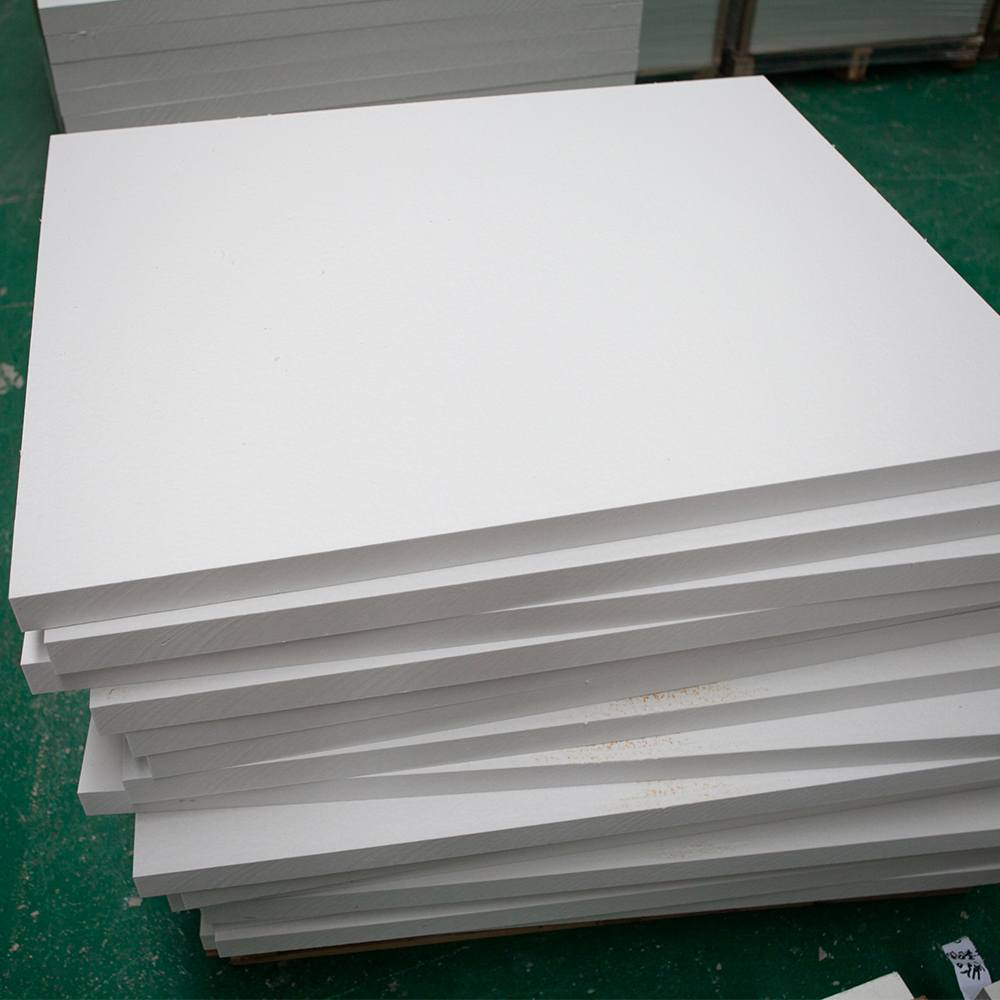
Ceramic fiber boards are indispensable in high-temperature industrial applications, from kiln linings to aerospace insulation. However, prolonged exposure to extreme conditions can lead to cracks, erosion, or delamination. While replacement is sometimes necessary, minor damage can often be repaired cost-effectively. This guide outlines actionable steps to restore ceramic fiber boards, extend their lifespan, and maintain operational efficiency.
Common Causes of Ceramic Fiber Board Damage
Before diving into repairs, identify the root cause to prevent recurrence:
- Thermal Shock: Rapid temperature fluctuations.
- Mechanical Stress: Impacts, vibrations, or compression.
- Chemical Erosion: Exposure to acids, alkalis, or moisture.
- Overheating: Exceeding temperature ratings.
Step-by-Step Repair Guide
1. Assess the Damage
- Visual Inspection: Look for cracks, gaps, or powdery residue.
- Severity Check:
- Minor: Surface cracks or small holes.
- Moderate: Deep fissures or localized delamination.
- Severe: Extensive fragmentation or structural instability (replace in this case).
2. Clean the Surface
- Remove debris, loose fibers, or contaminants using:
- Compressed Air: For dust and loose particles.
- Wire Brush: For stubborn residue (use gently to avoid worsening cracks).
- Vacuum: Ensure a dust-free workspace.
3. Prepare Repair Materials
Choose materials compatible with your board’s composition and operating conditions:
- High-Temperature Adhesive: Silicone-based or ceramic-reinforced glue (e.g., Aremco Ceramabond 552).
- Ceramic Fiber Patch: Cut a piece slightly larger than the damaged area.
- Refractory Mortar: For filling gaps (e.g., Thermal Ceramics K-23).
4. Apply the Repair
- For Cracks/Gaps:
- Fill with refractory mortar using a putty knife.
- Smooth the surface to match the board’s contour.
- For Holes/Delamination:
- Apply adhesive to the damaged area and the patch.
- Press the patch firmly into place, ensuring full contact.
- Secure with clamps or weights until cured (follow adhesive instructions).
5. Cure Properly
- Allow repairs to cure at room temperature or as per the adhesive manufacturer’s guidelines.
- Avoid rapid heating post-repair to prevent thermal shock.
6. Post-Repair Inspection
- Check for gaps or uneven surfaces.
- Test in a low-stakes environment before reinstalling in critical applications.
Pro Tips for Long-Lasting Repairs
- Reinforce Weak Zones: Apply a ceramic coating (e.g., Zircopax) for added durability.
- Avoid Over-Patching: Excessive layers may reduce thermal efficiency.
- Monitor Performance: Use infrared cameras to detect hotspots after repairs.
When to Replace Instead of Repair
- Structural Failure: Large sections crumbling or warped boards.
- Chemical Penetration: Deep erosion that weakens the core.
- Repeated Repairs: Frequent fixes indicate systemic issues (e.g., poor installation).
Preventative Maintenance
- Regular Inspections: Schedule checks every 6–12 months.
- Temperature Control: Install thermal barriers to mitigate shock.
- Protective Coatings: Apply water-repellent or anti-corrosion sealants.
Conclusion
Repairing damaged ceramic fiber boards is a cost-efficient alternative to replacement when executed correctly. By addressing minor issues promptly and adopting preventive measures, you can maximize ROI and ensure uninterrupted performance in demanding environments.