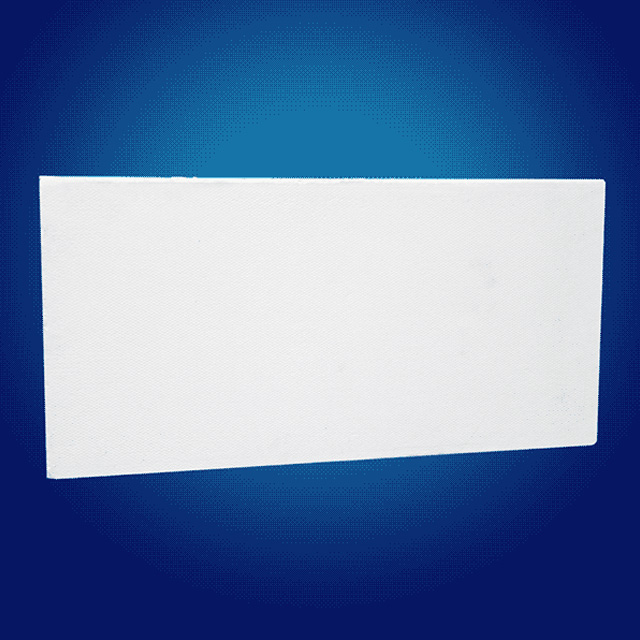
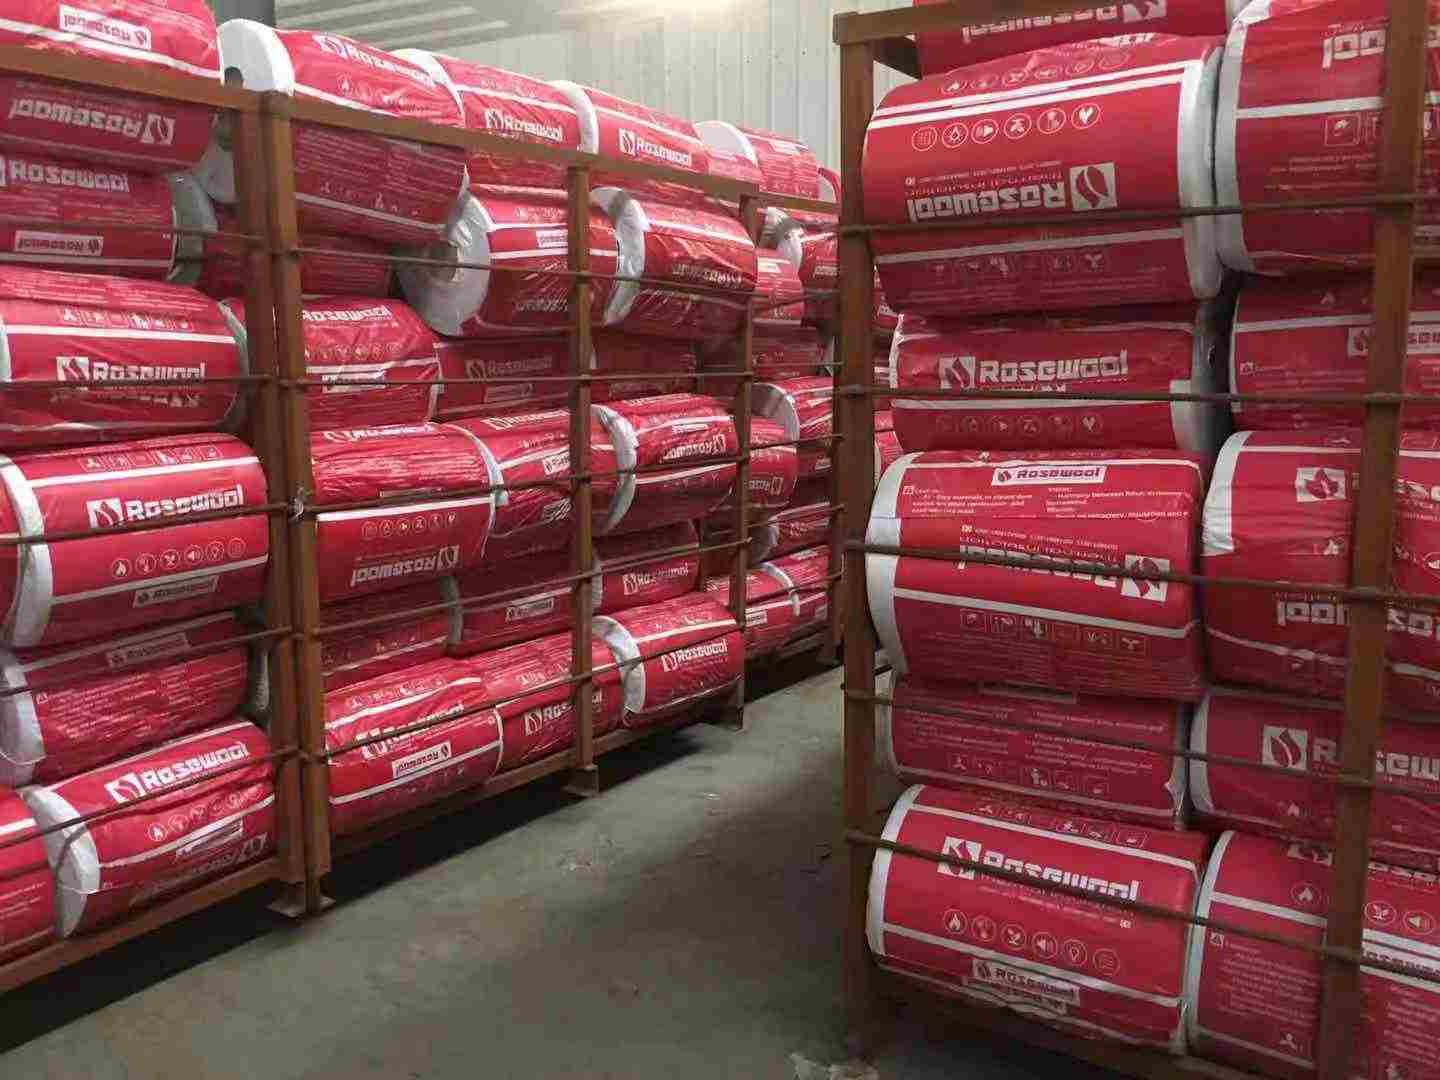
rock wool insulation blankets are a popular choice for thermal and acoustic insulation in residential, commercial, and industrial projects. Their fibrous structure and fire-resistant properties make them ideal for walls, roofs, and floors. However, cutting rock wool accurately requires the right tools and techniques to avoid fraying, dust, and uneven edges. This guide will walk you through the process, ensuring clean, efficient cuts every time.
Why Proper Cutting Matters
Improperly cut rock wool can lead to gaps in insulation, reduced energy efficiency, and irritation from loose fibers. Following these steps will help you achieve precision while minimizing waste and health risks.
Tools You’ll Need
- Utility Knife or Insulation Knife: A sharp blade is essential for clean cuts.
- Straightedge or Metal Ruler: To guide your knife and ensure straight lines.
- Safety Gear: Gloves, goggles, a dust mask, and long sleeves to protect against irritants.
- Work Surface: A stable, elevated platform (e.g., sawhorses) to support the blanket.
- Measuring Tape: For accurate dimensions.
Step-by-Step Cutting Process
1. Measure Twice, Cut Once
- Mark the Dimensions: Use a measuring tape to outline the required size on the rock wool blanket. For complex shapes (e.g., around pipes), trace the object directly onto the material.
- Use Chalk or a Marker: A light chalk line or water-soluble marker ensures visibility without staining.
2. Secure the Blanket
- Lay the blanket flat on your work surface.
- Use clamps or weights to hold it in place, preventing slippage during cutting.
3. Score the Surface
- Light Pressure First: Run your utility knife along the straightedge to create a shallow score line. This weakens the fibers without cutting all the way through.
- Repeat for Depth: Make 2–3 passes, increasing pressure each time until the blade slices through the material.
4. Snap and Separate
- Fold the blanket along the scored line. The material should snap cleanly.
- Use the knife to gently separate any remaining fibers.
5. Trim Edges (If Needed)
- For uneven edges, realign the straightedge and trim excess with smooth, controlled strokes.

Pro Tips for Perfect Cuts
- Keep Blades Sharp: Dull blades tear fibers, creating dust and frayed edges. Replace blades frequently.
- Work Indoors or in Still Air: Wind can disperse rock wool fibers, increasing inhalation risks.
- Use a Serrated Blade for Thicker Blankets: A bread knife-style blade grips dense materials better.
Safety Precautions
- Wear PPE: rock wool fibers can irritate skin and lungs. Always use gloves, goggles, and a mask.
- Minimize Dust: Wet the cutting area slightly with a spray bottle to reduce airborne particles.
- Dispose of Waste Properly: Seal scraps in a plastic bag to prevent fiber release.
When to Avoid DIY Cutting
For large-scale projects or intricate designs (e.g., curved cuts for HVAC systems), consider professional tools like a hot wire cutter or a bandsaw with a fine-tooth blade. These tools reduce dust and ensure consistency.
FAQs
Q: Can I use scissors to cut rock wool?
A: Avoid scissors—they crush fibers instead of slicing them, leading to uneven edges.
Q: How do I cut rock wool for tight corners?
A: Make relief cuts at 45-degree angles along the corner to fold the material neatly.
Q: Is rock wool dust harmful?
A: Prolonged exposure can irritate skin and respiratory tracts. Always wear PPE and work in a ventilated area.
Conclusion
Cutting rock wool insulation blankets doesn’t have to be daunting. With the right tools, patience, and safety measures, you can achieve professional-grade results for any project. Remember: Measure accurately, use sharp blades, and prioritize protection to keep your workspace clean and efficient.