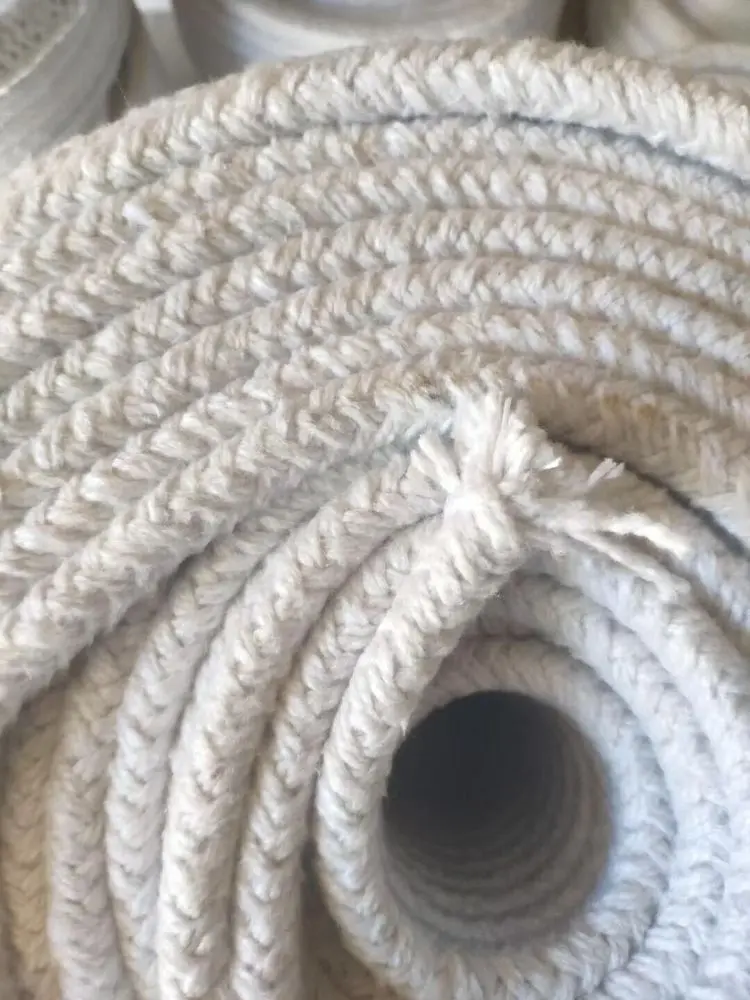
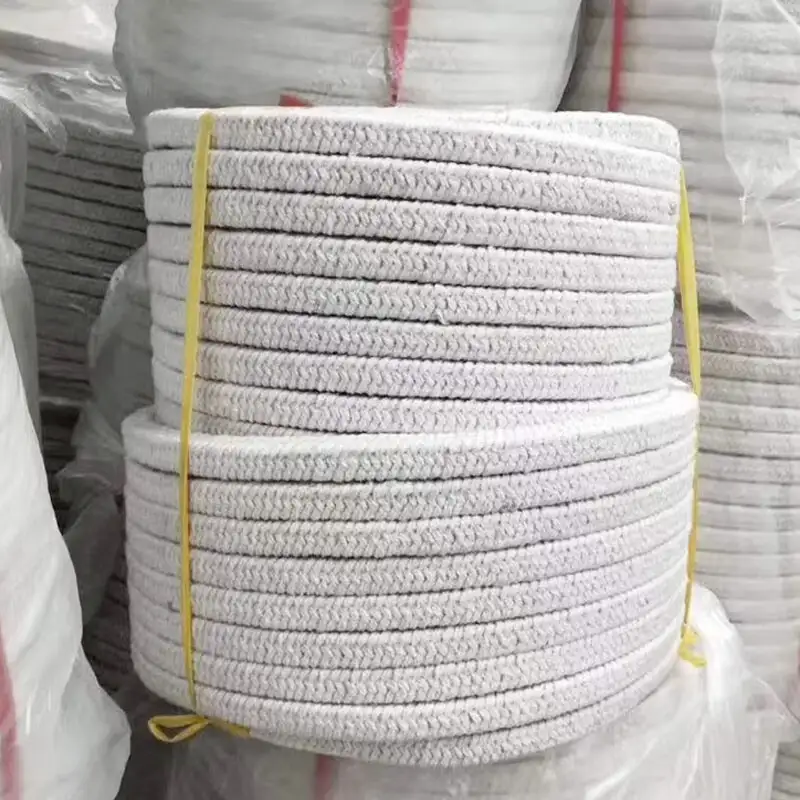
Ceramic fiber insulation ropes are critical for sealing gaps, preventing heat loss, and ensuring safety in high-temperature environments. Proper installation maximizes their performance and lifespan. Below is a detailed guide to installing ceramic fiber ropes, along with tips and best practices.

1. Preparation: Tools and Safety Gear
Before starting, gather the following:
- Tools: Ceramic fiber rope, sharp scissors or a utility knife, ceramic adhesive, gloves, safety goggles, and a dust mask.
- Optional: Stainless steel wire or lacing anchors for reinforced installations.
Safety First:
- Wear gloves to avoid skin irritation from fiber particles.
- Use a dust mask and goggles to prevent inhalation or eye contact.
2. Surface Preparation
- Clean: Remove debris, old insulation, or corrosion from the installation area.
- Dry: Ensure surfaces are free of moisture to prevent adhesive failure.
- Measure: Use a tape measure to determine the exact length and diameter of the gap.
3. Cutting the Rope
- Size: Cut the rope 10–15% longer than the gap to allow for compression.
- Tool: Use sharp scissors or a knife to avoid fraying. For twisted ropes, seal cut ends with adhesive.
4. Installation Methods
A. Wrapping Pipes or Ducts
- Apply a thin layer of ceramic adhesive to the surface.
- Wind the rope around the pipe, overlapping layers by 25–30%.
- Secure with stainless steel wire or ceramic tape every 10–15 cm.
B. Sealing Furnace Doors or Hatches
- Place the rope into the groove or channel.
- Press firmly to ensure full contact with the adhesive.
- For movable parts (e.g., furnace doors), leave 1–2 mm slack to accommodate thermal expansion.
C. Filling Expansion Joints
- Stuff the rope into the joint, ensuring it fills 70–80% of the space.
- Tamp gently with a wooden tool to avoid compacting.
- Seal with ceramic mortar for high-pressure applications.
5. Post-Installation Checks
- Compression: Ensure the rope is compressed by 15–20% for optimal sealing.
- Adhesive Curing: Allow 24 hours for adhesives to set before operating equipment.
- Leak Test: Inspect for gaps using infrared thermography or smoke testing.
6. Maintenance Tips
- Inspection: Check quarterly for fraying, compression loss, or adhesive degradation.
- Replacement: Replace ropes if shrinkage exceeds 10% or visible cracks appear.
- Cleaning: Use a soft brush to remove dust; avoid water or solvents.

Common Issues and Solutions
| Problem |
Solution |
| Rope slipping from joints |
Use ceramic adhesive or mechanical fasteners. |
| Excessive smoke leakage |
Add a secondary layer of ceramic blanket. |
| Adhesive failure |
Clean surfaces thoroughly before application. |
FAQs About Installation
Q: Can I install ceramic fiber rope without adhesive?
A: Yes, for low-temperature applications (below 300°C), but adhesive is recommended for high-heat environments.
Q: How tight should the rope be installed?
A: Install with 15–20% compression to allow for thermal expansion without compromising seal integrity.
Q: Can I reuse ceramic fiber rope after removal?
A: No, reuse is not recommended as fibers may degrade during handling.
Q: What’s the maximum temperature for installation?
A: Install below 50°C to prevent premature curing of adhesives.
Proper installation of ceramic fiber insulation ropes enhances energy efficiency, reduces fire risks, and extends equipment life. By following these steps and prioritizing safety, you can ensure reliable performance in furnaces, boilers, and industrial machinery.


